POS User Interface
The User Interface is laid out as per the below. This is shown on a desktop style device and the panels may be in different locations or totally minimized away depending on the device and its screen size.
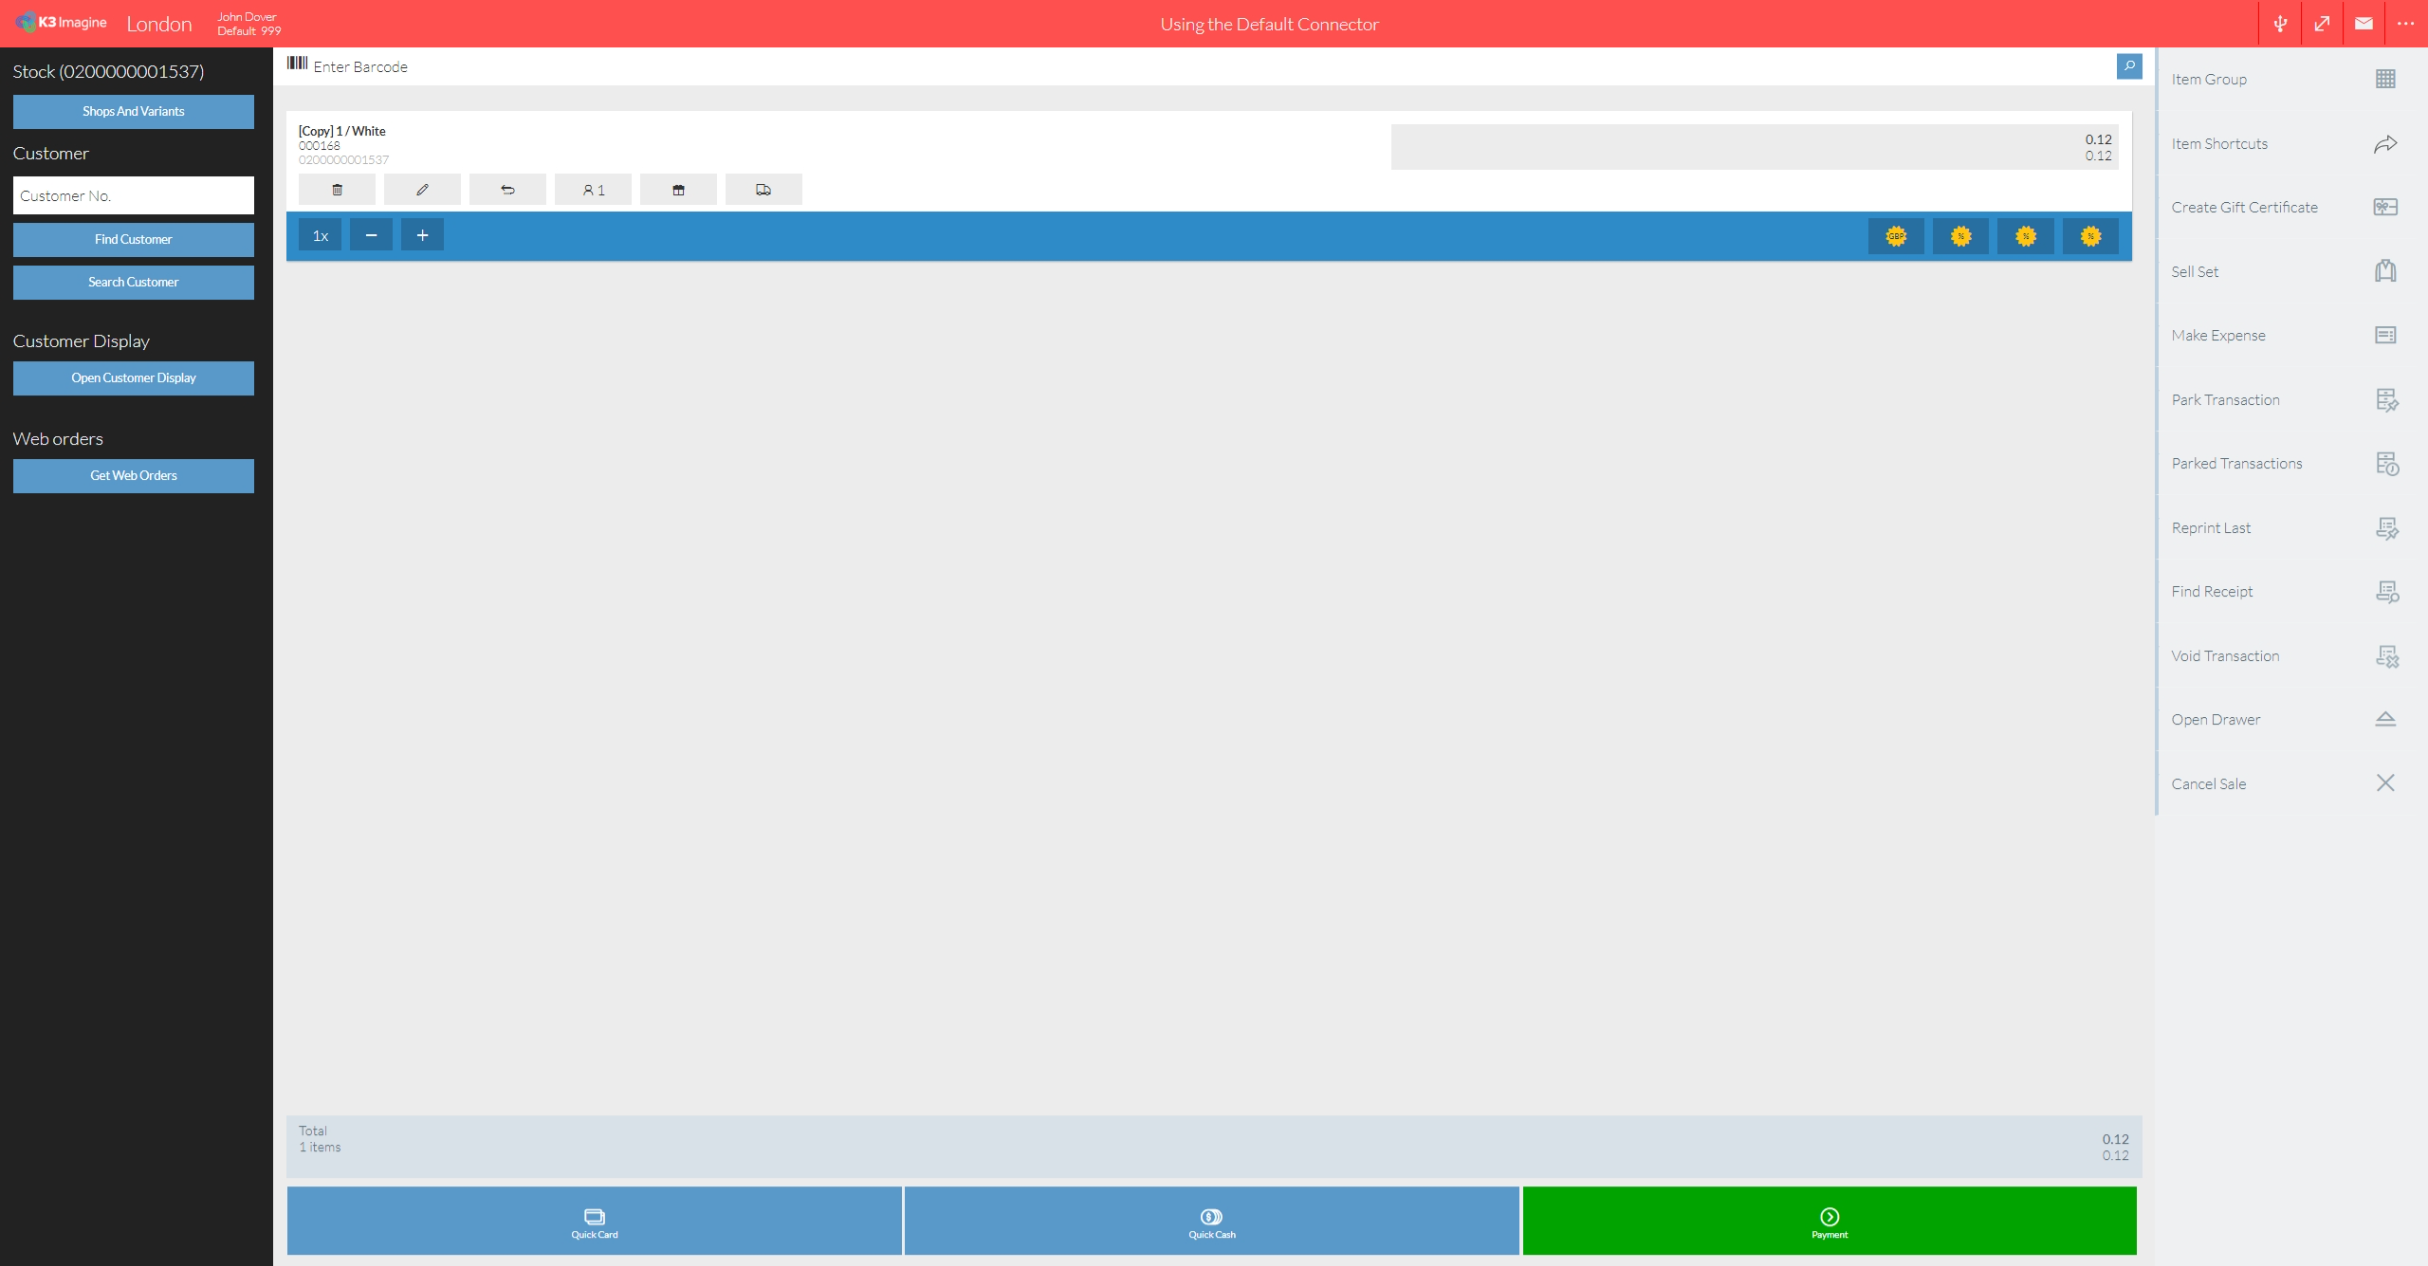
The top bar lets you access a few different functions.
![]() Allows you to set the default connector that this POS uses.
Allows you to set the default connector that this POS uses.
![]() Toggles full screen mode (on supported browsers)
Toggles full screen mode (on supported browsers)
![]() Alerts you of any notifications or messages from the head office.
Alerts you of any notifications or messages from the head office.
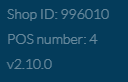
![]() Allows you to access other functions and brings up a side menu. This side menu also shows you your shop ID, POS Number and Version Number
Allows you to access other functions and brings up a side menu. This side menu also shows you your shop ID, POS Number and Version Number
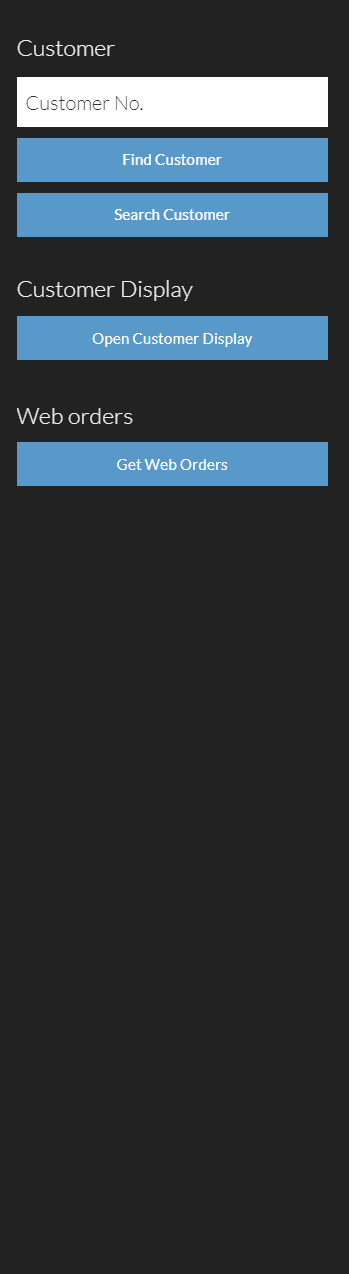
The left panel is the Widget panel.
Widgets are an extension to the basic POS and will vary in use from customer to customer. This panel also displays the reason codes when you perform a function that requires a reason, such as discounting and returns.
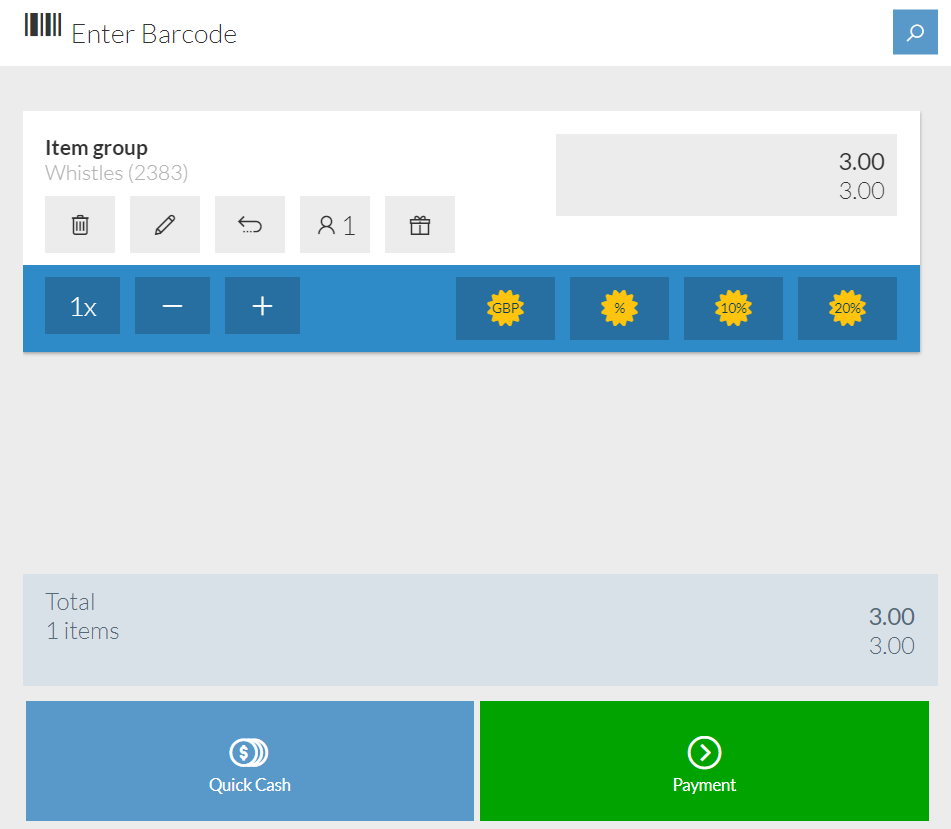
The centre section is the transaction or basket panel. This is where you perform most of the POS transaction functionality.
Scan a barcode, search for a product it lists items in the basket and adjust quantities and apply discounts.
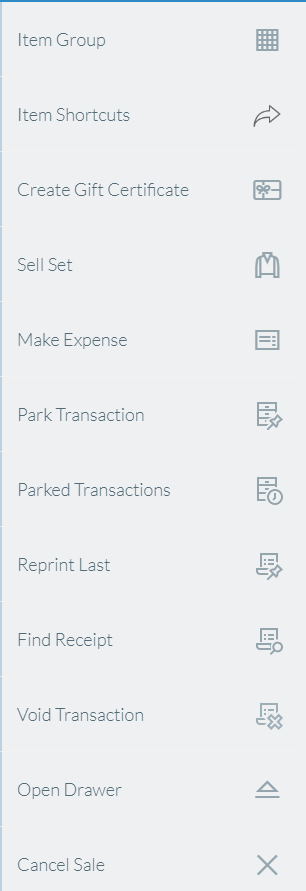
The right panel is the Menu which allows you to access other POS functions. These buttons can be nested and have links to other functions.
The soft keyboard is used when you need to enter text or numeric data into the user interface.
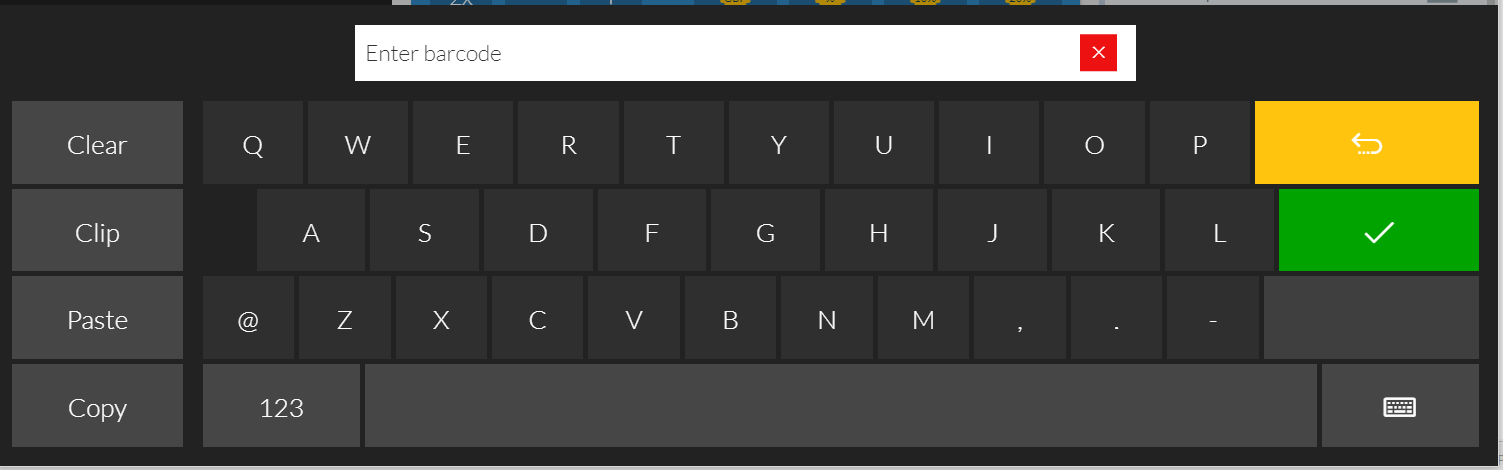
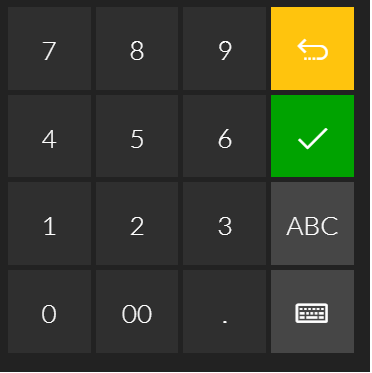
You can alternate between Alpha and Numeric using the corresponding button ![]() or
or ![]()
The keyboard is context sensitive, so it will display the Alpha or Numeric keyboard depending on the input type of the field you are entering data into.