Home Page POS
The first you time access to the POS you must the portal via http://portal.k3imagine.com
NOTE: You must also do the same if you have cleared your local storage.
Once you have access to the POS via the portal, you can then save http://pos.k3imagine.com as a bookmark or set as a home page within your browser settings.
The top bar lets you access a few different functions.
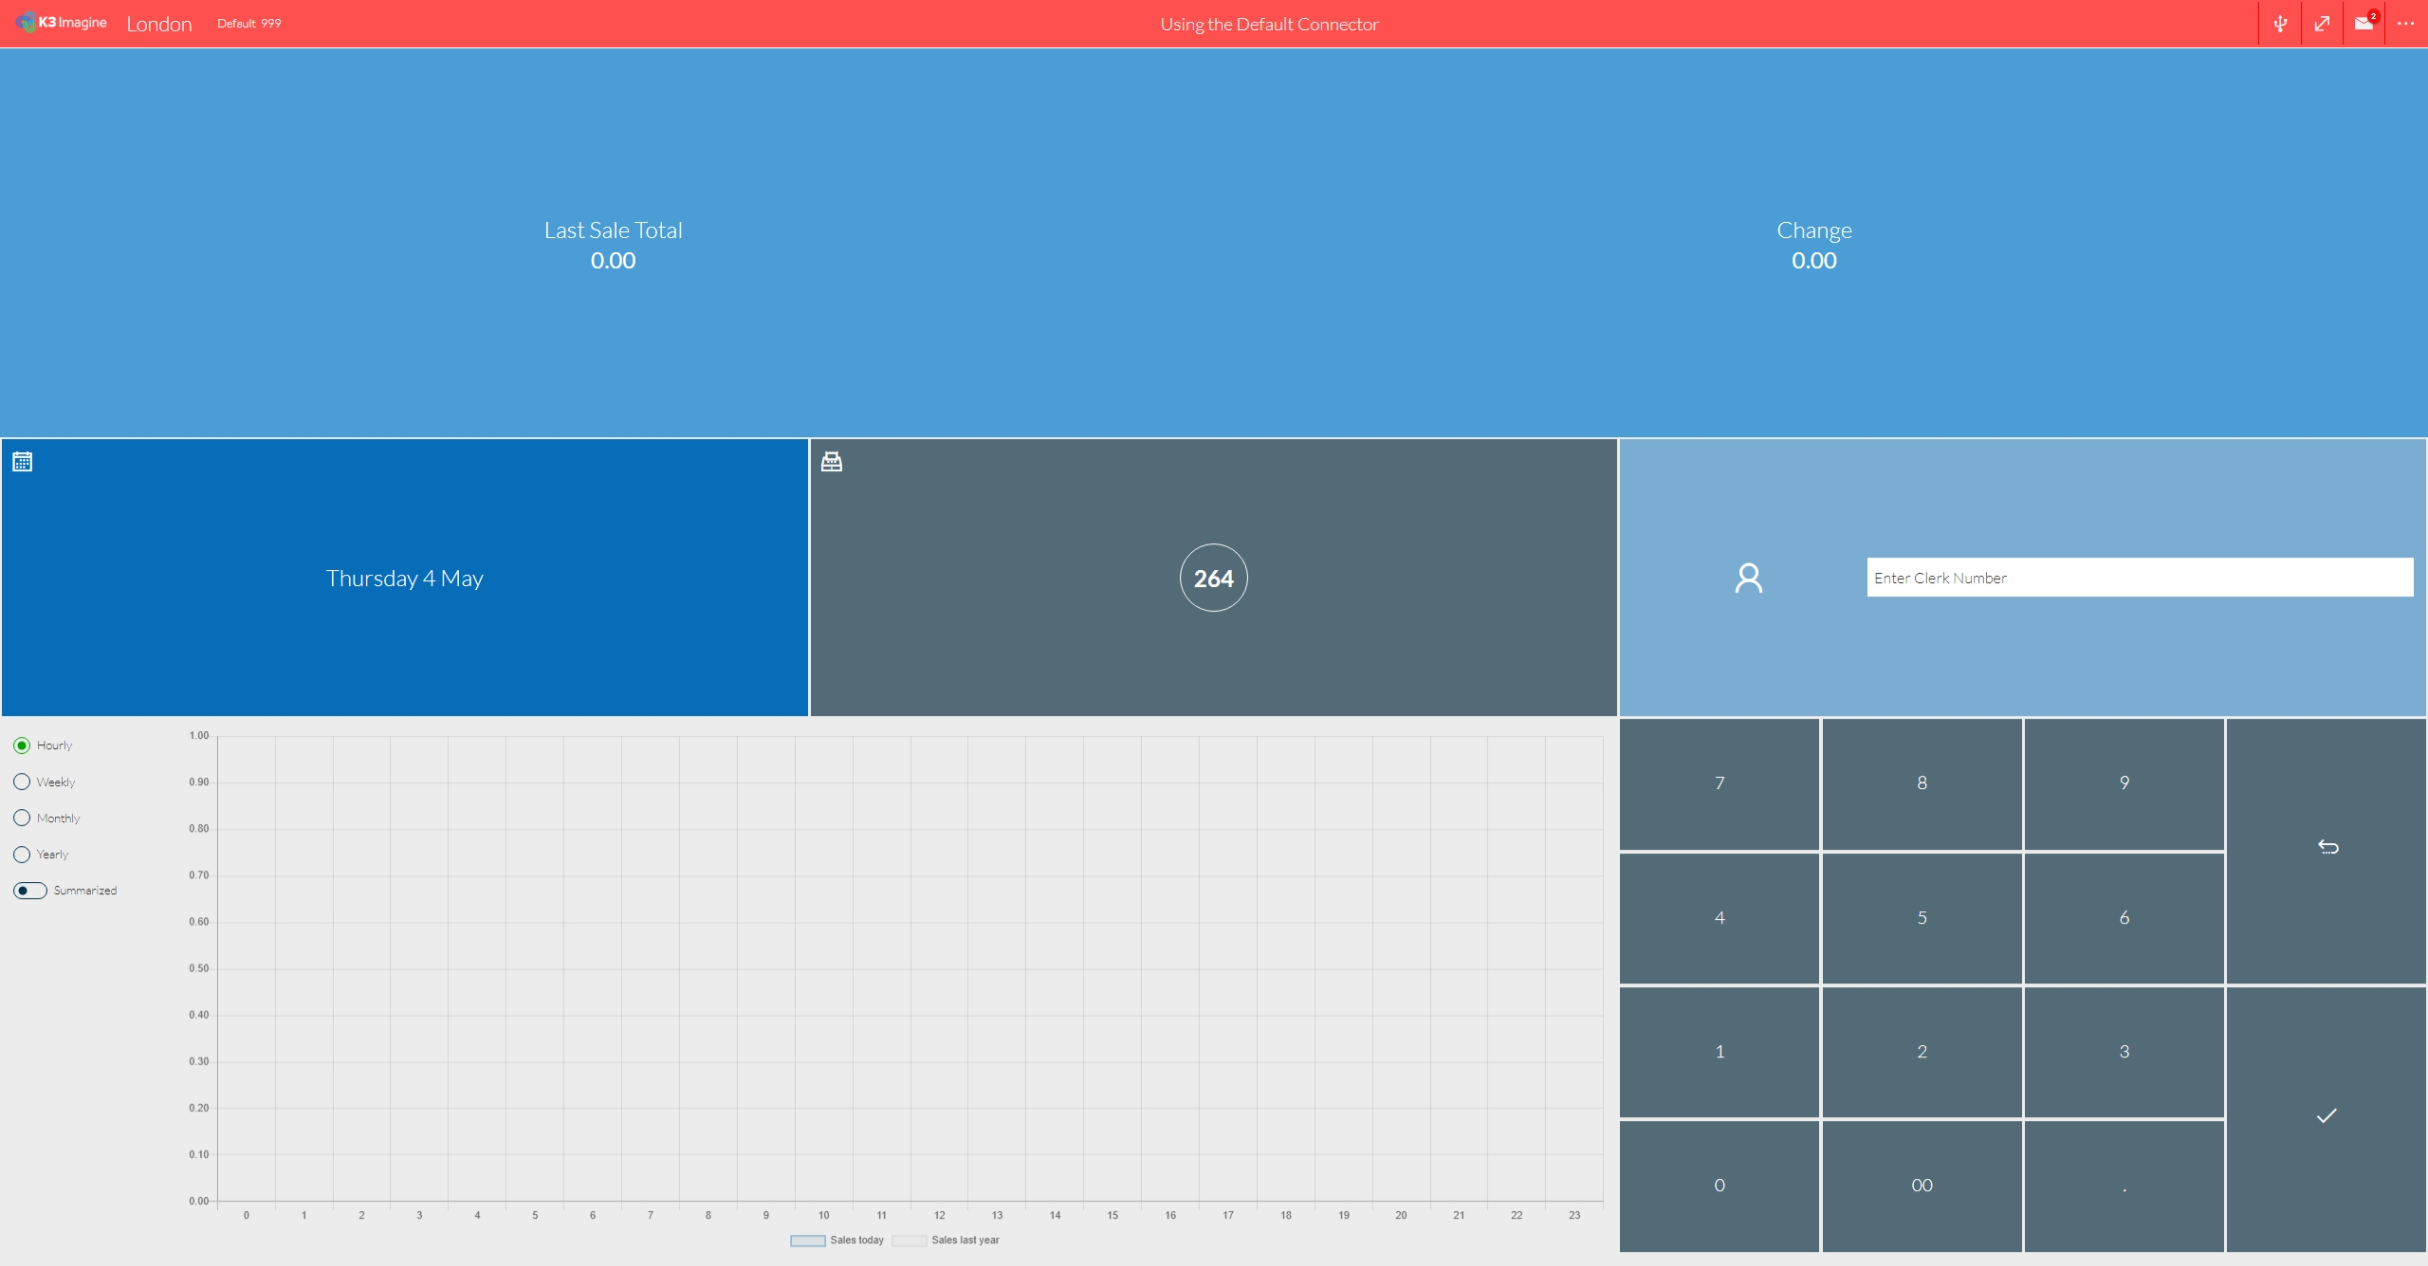
![]() Allows you to set the default connector that this POS uses.
Allows you to set the default connector that this POS uses.
![]() Toggles full screen mode (on supported browsers)
Toggles full screen mode (on supported browsers)
![]() Alerts you of any notifications or messages from the head office.
Alerts you of any notifications or messages from the head office.
![]() Allows you to access other functions and brings up a side menu. The only option on the home page is Portal Logout.
Allows you to access other functions and brings up a side menu. The only option on the home page is Portal Logout.
The second section shows some basic statistics from the last transaction. The sales value and the change issued. This can be disabled in the Admin module.

In the middle section, the date and the POS number that is assigned to this device are displayed.
This number is held in local storage and is not fixed to the device. That means if the cache is cleared from the browser, a new POS number will be generated and assigned. This is because the POS is fully portable and not device specific. When the POS number reaches 99, it will look for the lowest unused POS number.

It also displays the login box. This is where you enter your Clerk number and password.

After you have completed a sale, you can quickly log back in using the below button which replaces the login panel if you tap it before the timer runs down. You can also quickly expire the timeout by pressing the Sign Out button.

There is also a panel which shows some basic sales metrics. This panel can be disabled in the Admin module.
NOTE: The panel excludes any Expenses transactions from its totals.