Downpayment
The Down Payment widget will become available once it has been assigned to the relevant shop via Platform Admin > Tenants > Widgets Tab.
Once added the user will be able to create and complete bookings from the POS.
Processing a booking on the POS
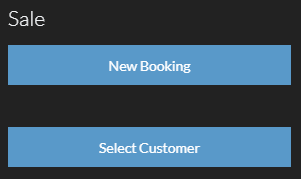
Select New Booking using the widget on the left.
The POS will turn pink, this indicates you are now in the Downpayment process.
You will now be on the customer page from here you can input the Customer Email address, or Membership Card number if available.
NOTE: If the customer does not exist on your system you can add a new customer ![]()
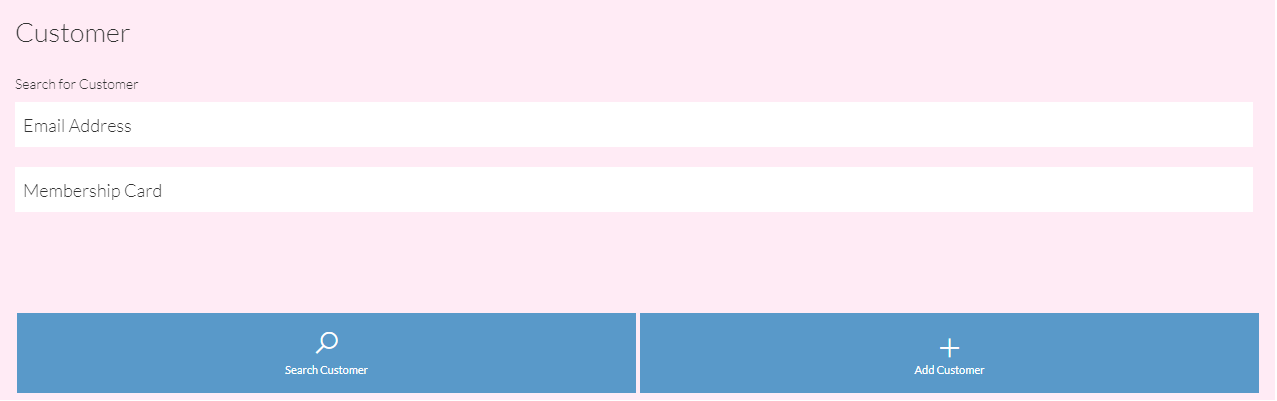
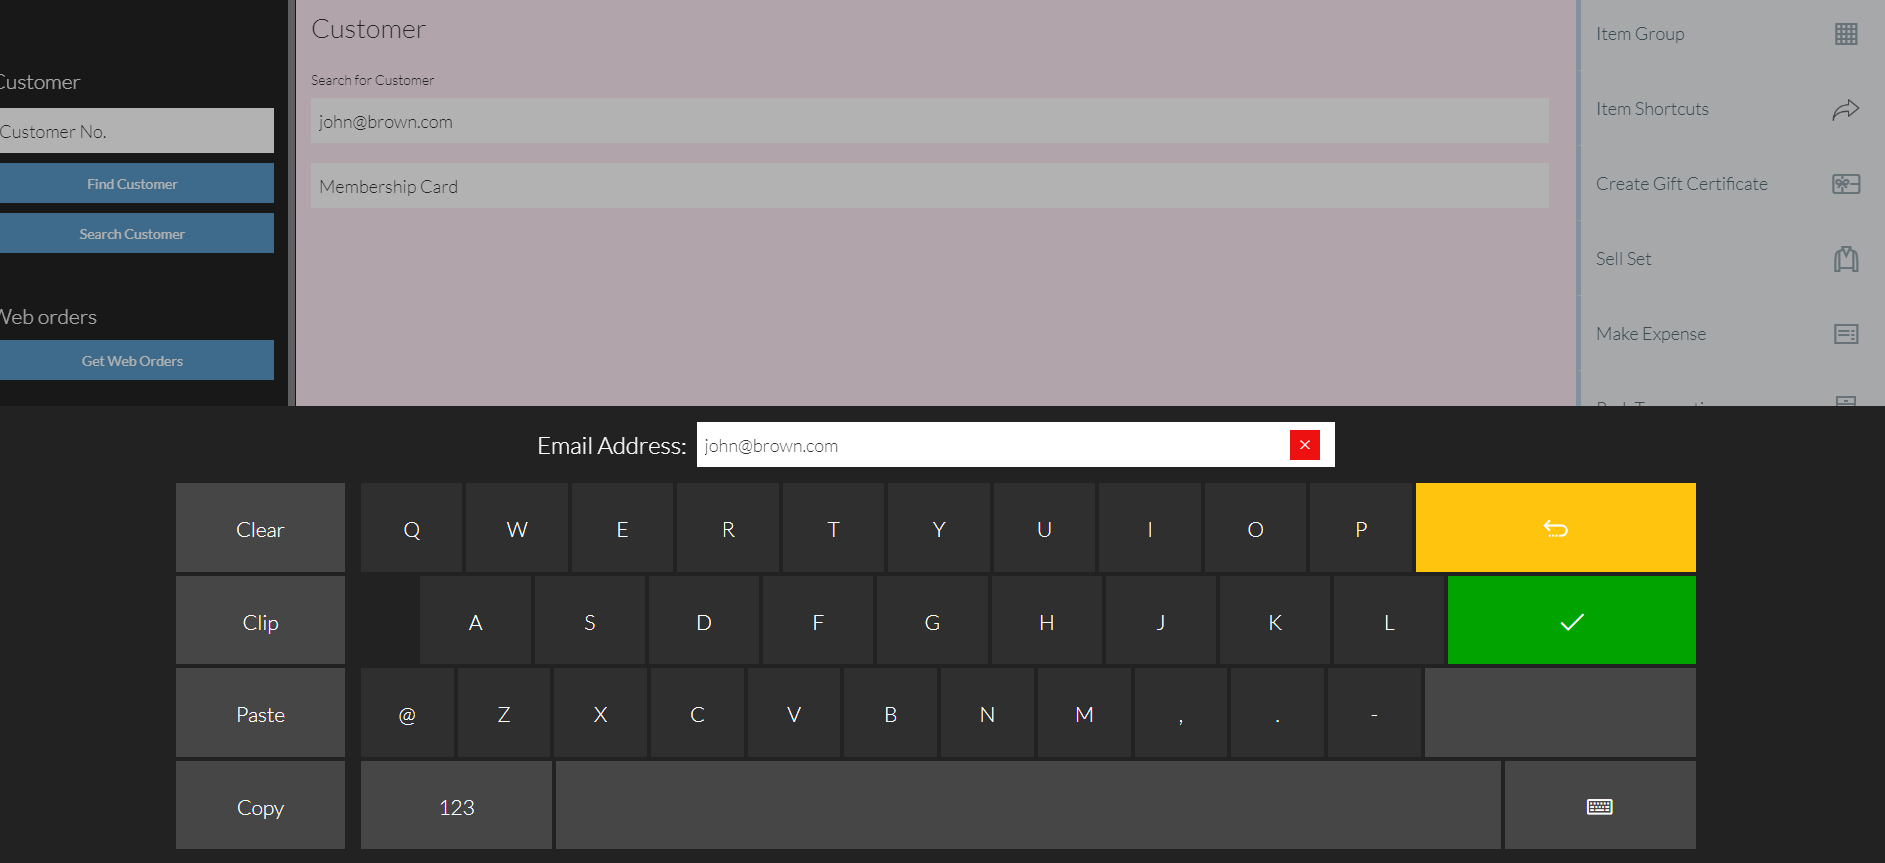
Enter the customers email or membership details and confirm using 
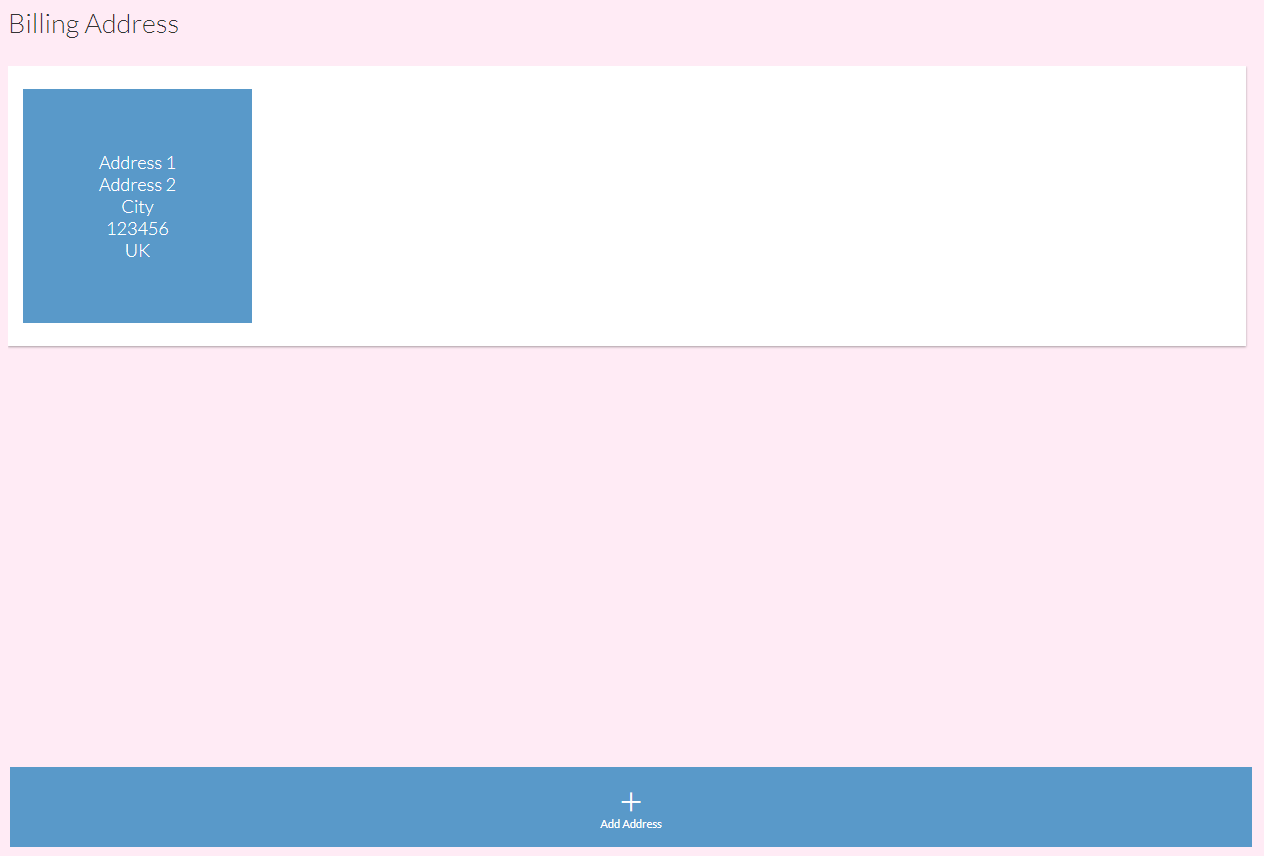
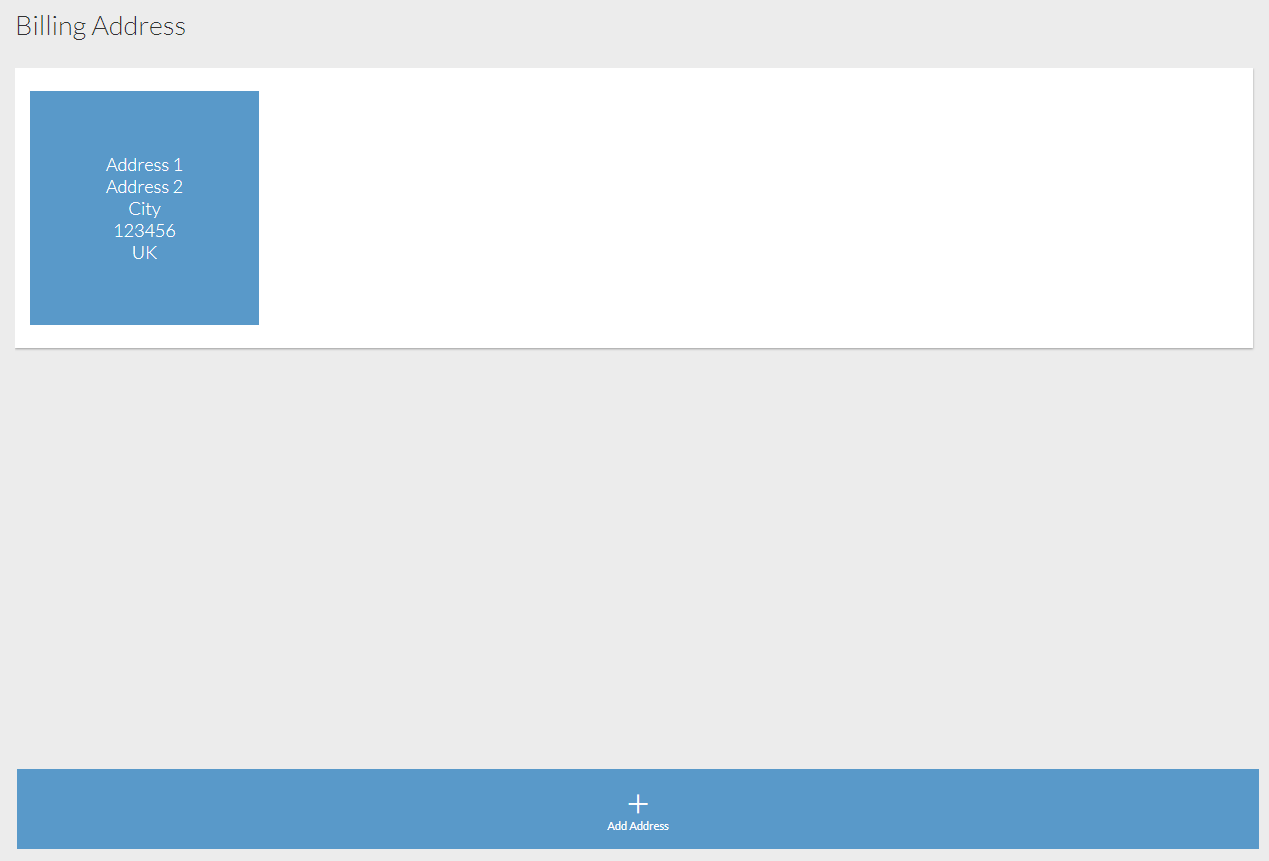
Select the billing address registered to the customer.
NOTE: If the customer requires a different address for delivery use the the Add Address button.
Shipment Settings screen
Home Delivery: This will select the delivery address from the previous screen. If this is unticked the delivery fee will no longer be required.
Allow Partial Delivery: This ticked will allow the customer to receive a partial delivery, this can be if the supplier/seller only has so much in stock at the time and the rest will be delivered when a new PO has been received.
Lease: This ticked the customer and seller have an agreement for monthly payments for the goods received.
Delivery Fee: Add in the amount the customer is to be charged for delivery.
Delivery Date: Add the delivery date.
Delivery Before Date: If the customer is happy to receive the delivery before the set delivery date.
Order Note: Order Note allows the user to add any additional notes onto the order.
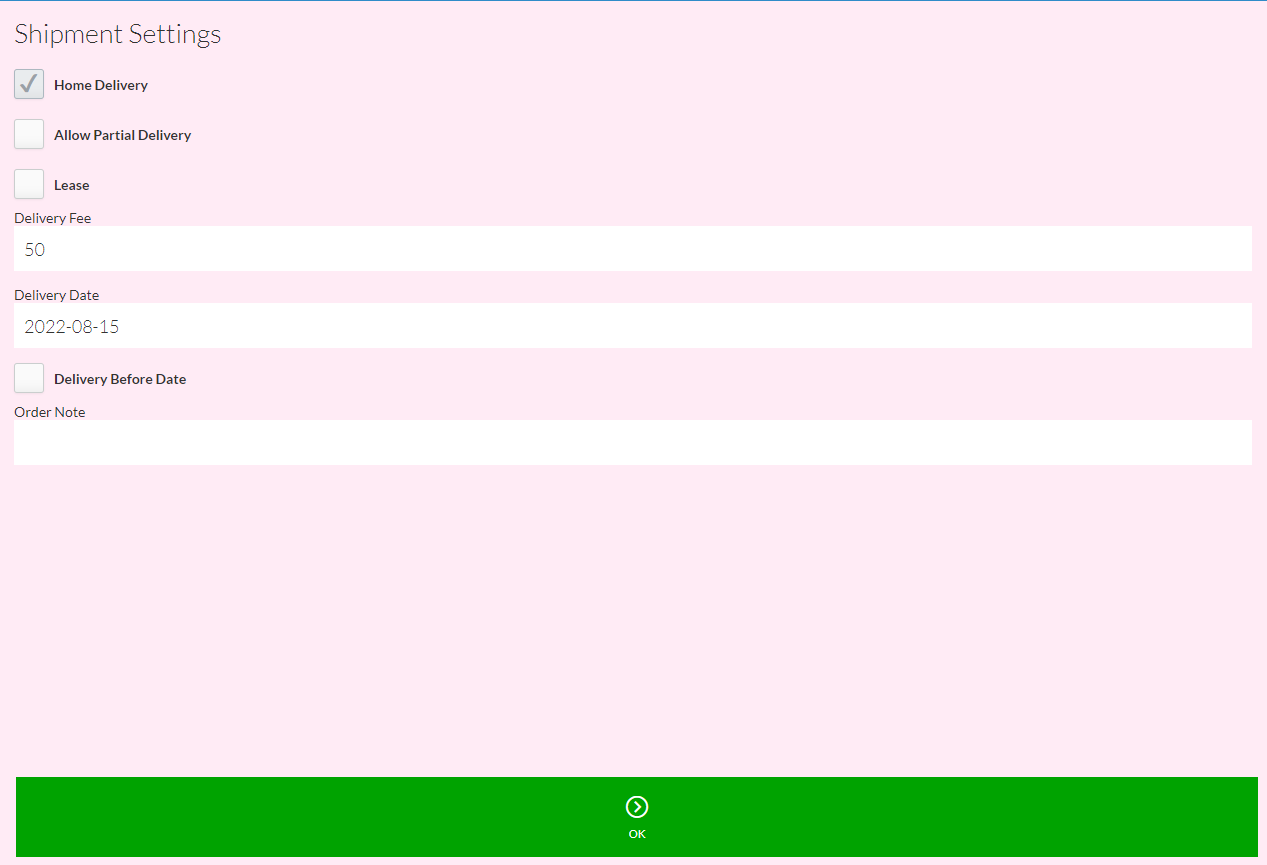
When you have filled in the Shipment Settings click ![]() you will be taken to the below page.
you will be taken to the below page.
Once again click on the Address box the shipment will now show in the transaction line along with the delivery cost if this was selected.
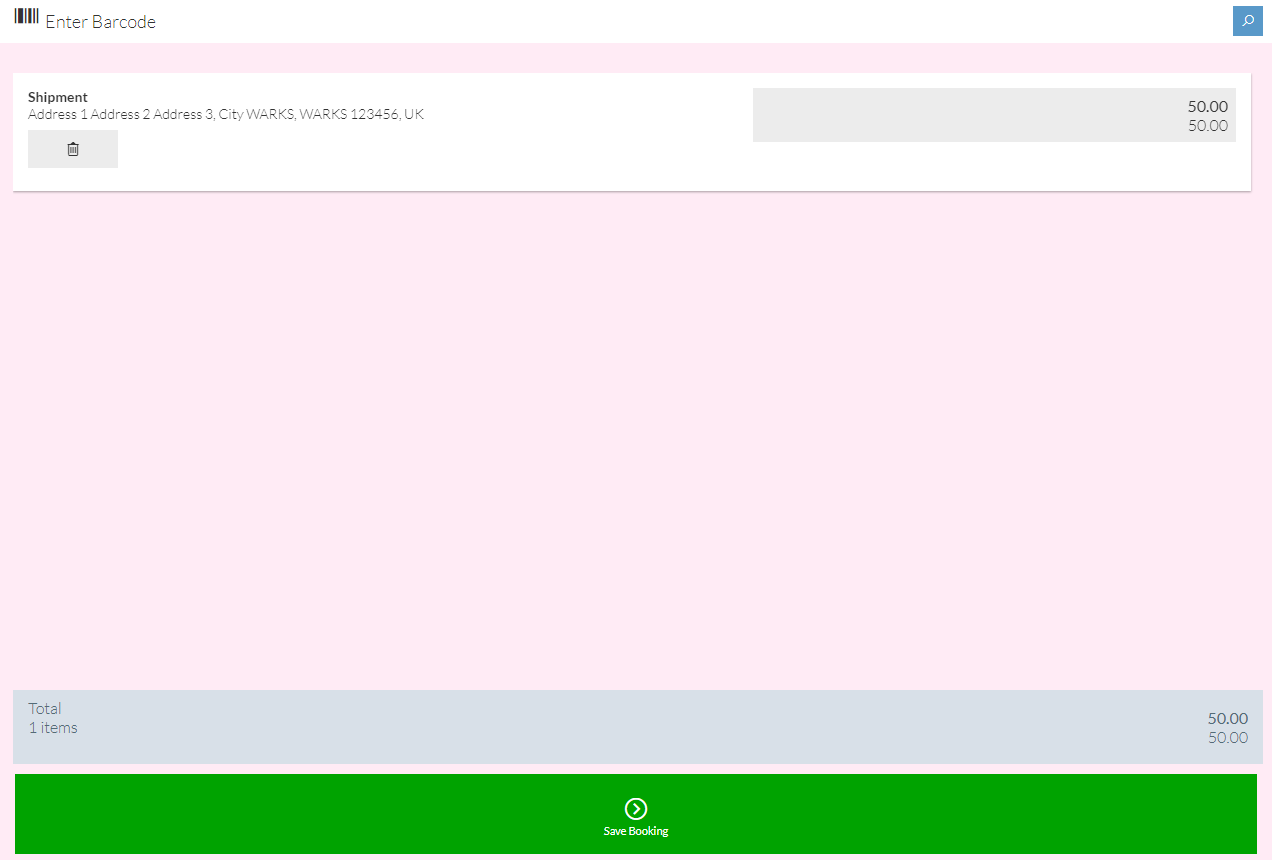
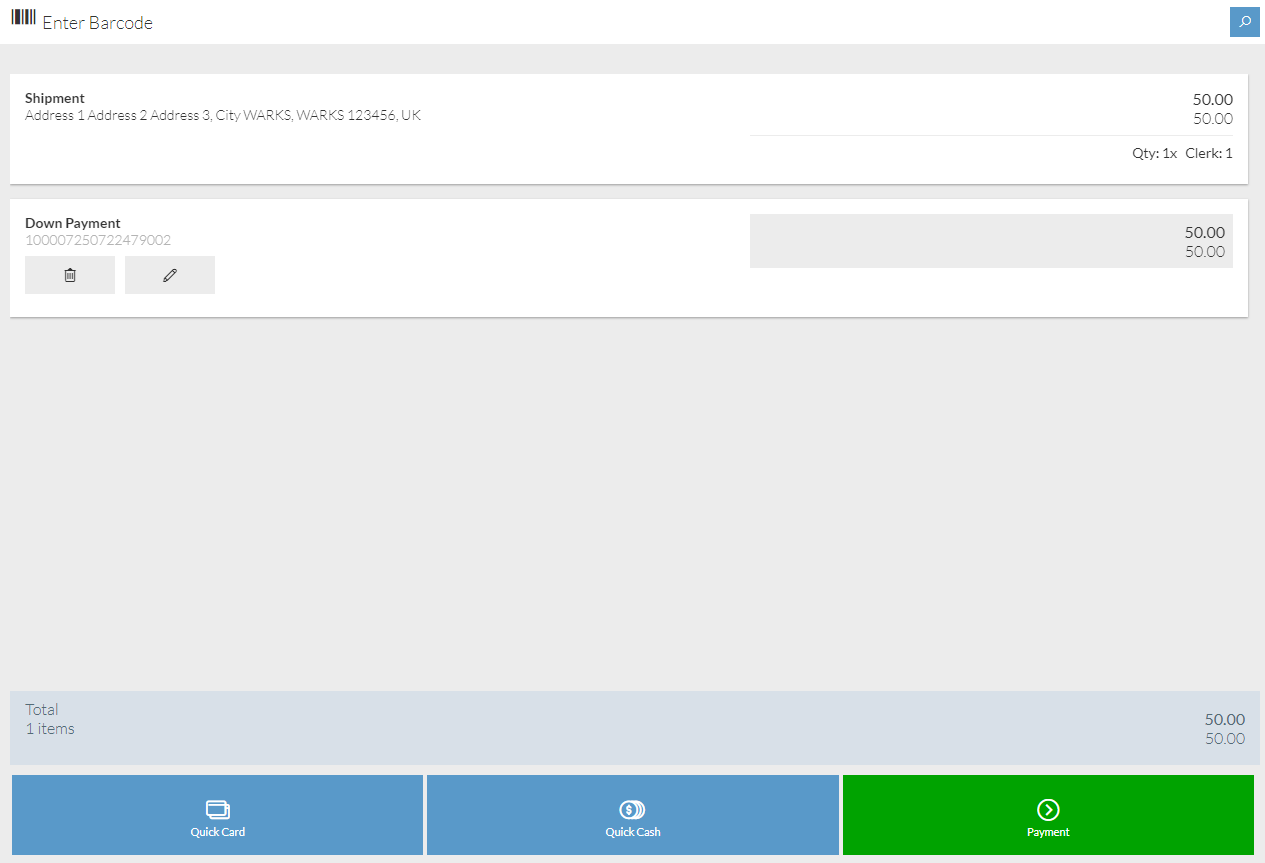
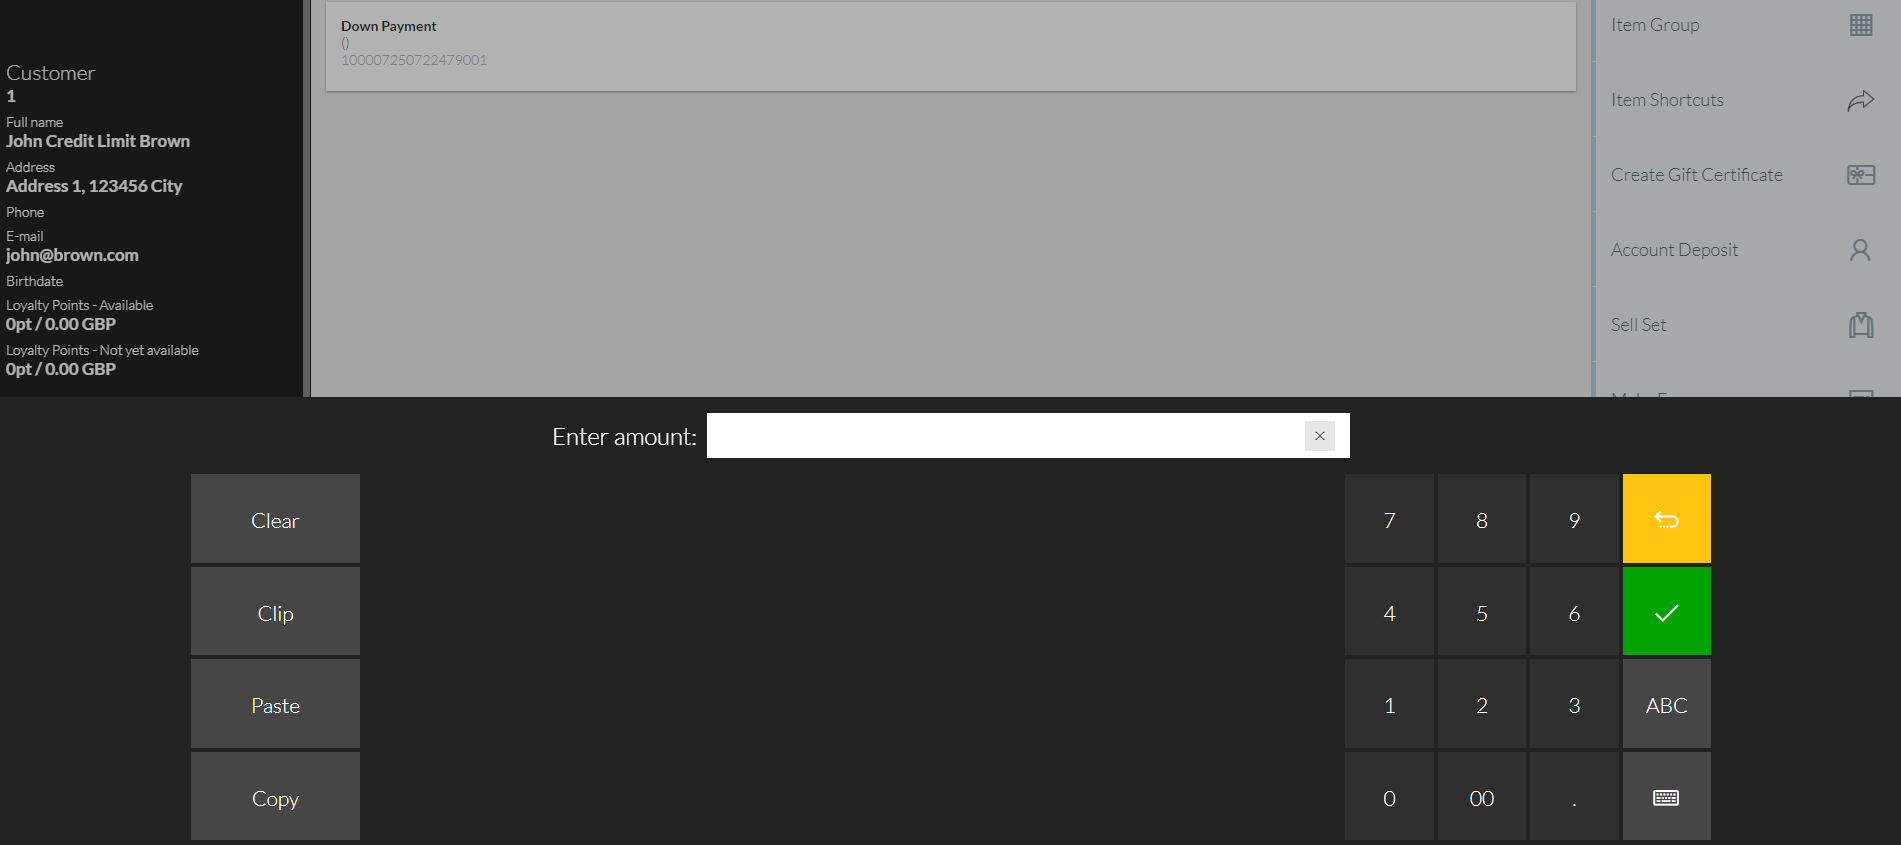
Click the Save booking button, you will be asked to confirm the downpayment.
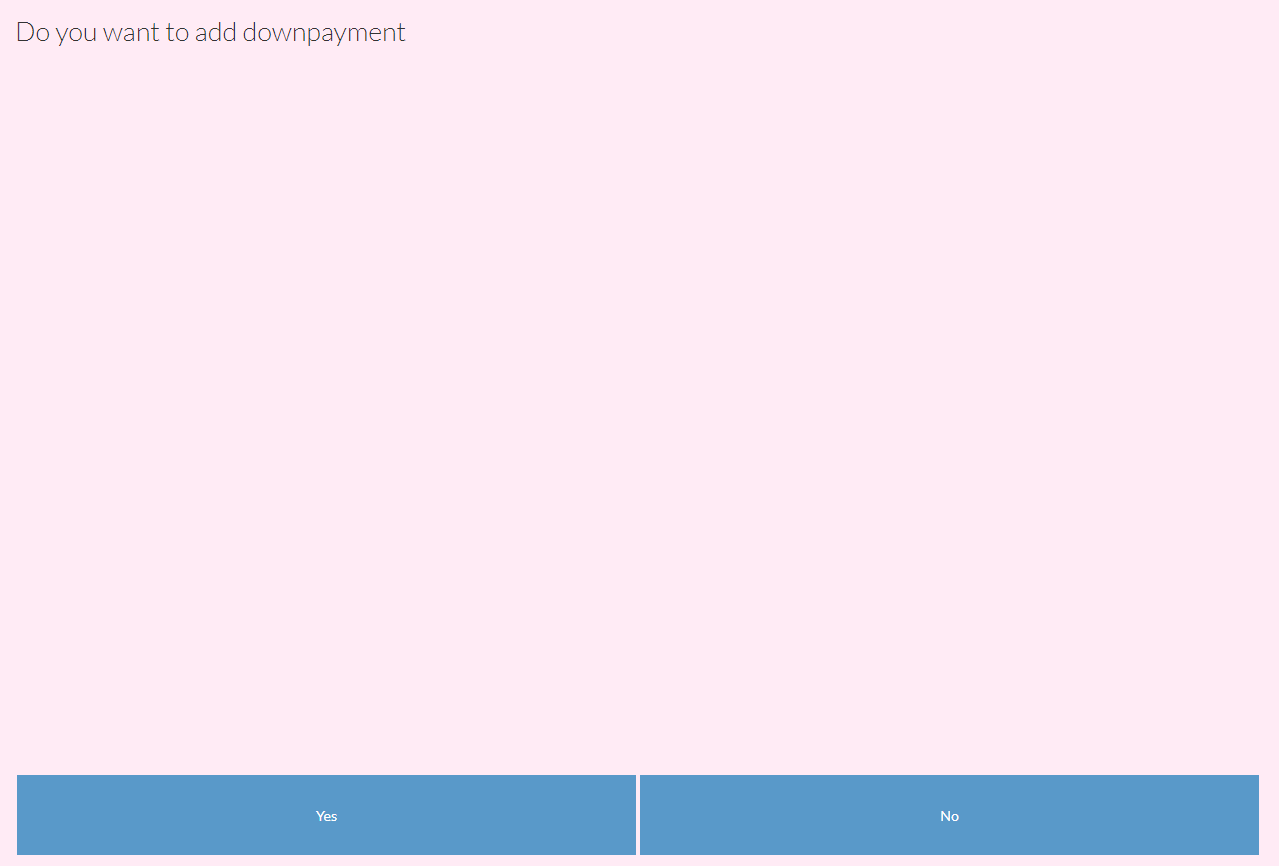
Clicking yes will take you to the below page, here you will input the amount for the downpayment.
You will need to select the Billing Address from the widget menu on the left.
Select the address that's in the system or add a new one using the Add Address button.
You will be taken to the transaction page, where you can take payment,