Functionality
Home View
When a user visits the URL they will land on the Home View, this is how customers will select the items they want to order through the POP.
NOTE: The URL will look like this: http://pop.k3imagine.com/yournamehere
The POP will always display the Landing Group for the selected store as the start point for this navigation. This hierarchy and navigation can be further expanded upon and fully customised using the Composer Groups functionality in Visual Composer.

You can choose to drill into the sub groups (black tiles) to see another layer of the hierarchy, or you can use the +/- buttons to add your items to the basket. If you press the + on an item which is a Bundle or has Modifiers, you will be asked to make your selections before adding to the basket.
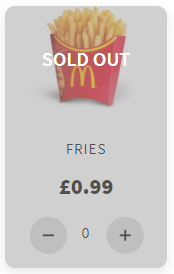
POP is aware of your current stock levels. So if your item is a stock keeping item and you run out of stock, it will display a tile as Sold Out so customers cannot purchase it.
There are various ways a customer can navigate within the page.
![]() Search Bar - You can also use the Search bar to find an item to add to your basket.
Search Bar - You can also use the Search bar to find an item to add to your basket.
 On screen navigation - If you have Bundle Groups set up, you will see navigation buttons appear when in those groups. For example Home > Drinks > Pepsi / Sprite / Coke. you can use this to return to the Home Screen or to a section by selecting on the POS.
![]() Information Button - This button will show the user your Terms and Conditions, FAQ, Delivery Information and Privacy Policy, if you have them configured. Currently, only Consultants are able to add this content.
Information Button - This button will show the user your Terms and Conditions, FAQ, Delivery Information and Privacy Policy, if you have them configured. Currently, only Consultants are able to add this content.
 Product Information - Any tile with the i symbol means there is some more information you might want to see for an item. It also indicates that there may be Bundle Groups or Modifiers for the item when selected.
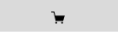 Basket Button - The basket button shows you how many items you have in your basket. You can press the button to view the basket, which you have to do in order to proceed to Payment.
Items, Bundles and Modifiers
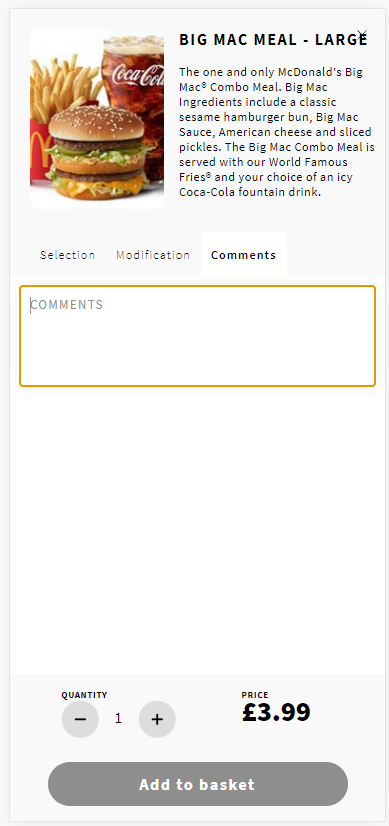
When you add a Bundle or Modifiable item to your basket, you will be prompted to make the relevant selections before adding them to the basket.
If your Bundle main item has Modifiers linked to it, it will automatically take you to the Modifiers tab if you wish to make any alterations.
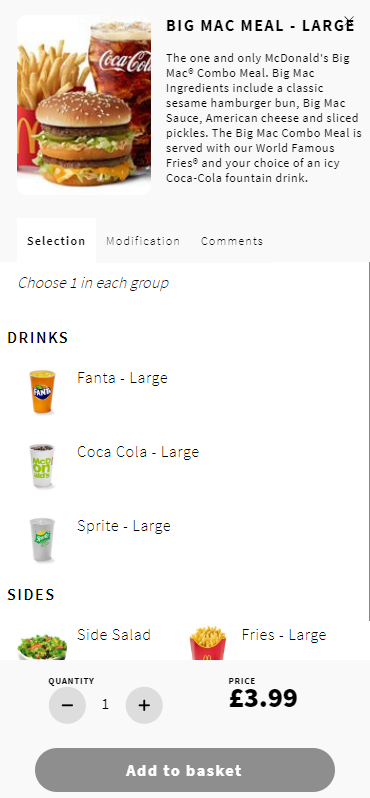
Non-bundled items with Modifiers will only show you the Modifiers.
The min max rule for selections is displayed next to the Modifier title, You will also see any additional prices for the modifiers.
Modifications that you make get printed on the order confirmation slip and also make their way through to the Order Status Display to be used in the order preparation area.
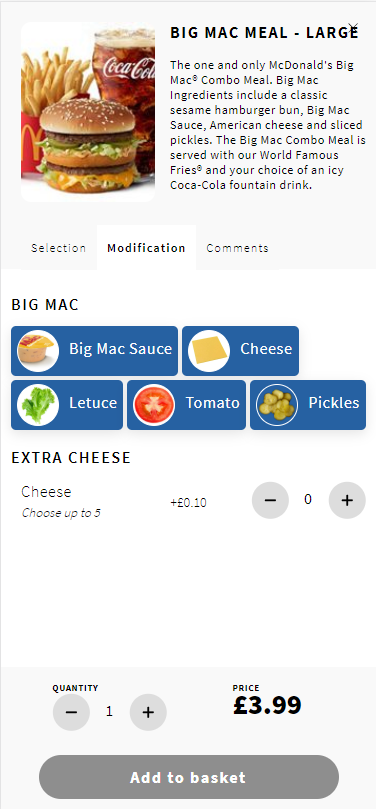
You can also add manually entered comments against the line too.
Modifications and Comments that you make are sent through to the Order Status Display to be used in the order preparation area.
Basket
The Basket screen shows a list of your items, along with any bundle selections and modifiers you have made.
They are grouped together, so if you have made more than one item with the same selections and modifiers they will be on the same basket line. It clearly denotes the extended price of the basket line and also displays the quantity multiplied by the single item price.
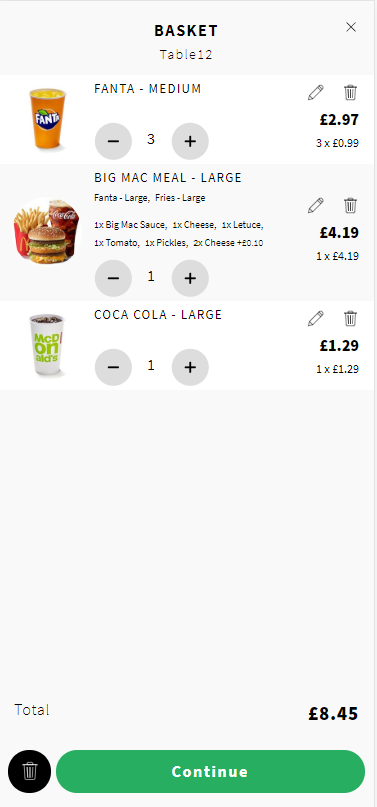
 Edit Line - You can use the pencil icon for the basket line to make alterations to that line (change modifiers or bundle selections.
 Delete Line -Use the trash can icon to remove the line from the basket
 Delete Basket - Use the black trash can next to the Pay button to clear the basket and return to the start screen
 Use the Continue button to proceed to the payment phase.
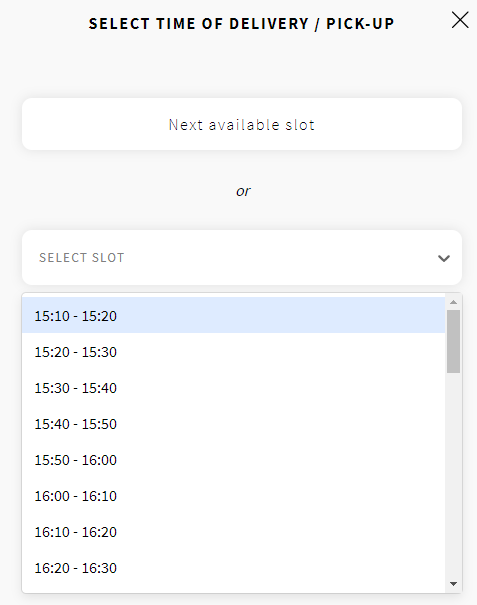
Time Slots
If your POP Configuration is set to use Time Slots, the user will be prompted to choose a time slot for which they want their order to be prepared.
Checkout
With the POP the first thing you will be asked is if you want to pickup your order, or have it delivered.
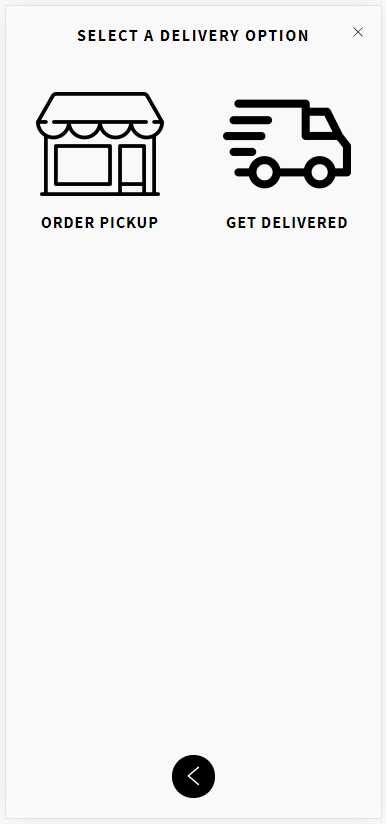
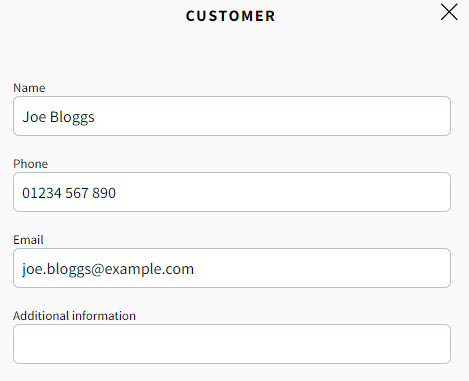
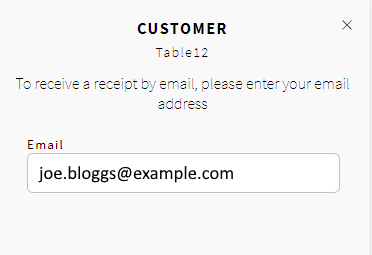
You will always be asked to enter your basic customer information.
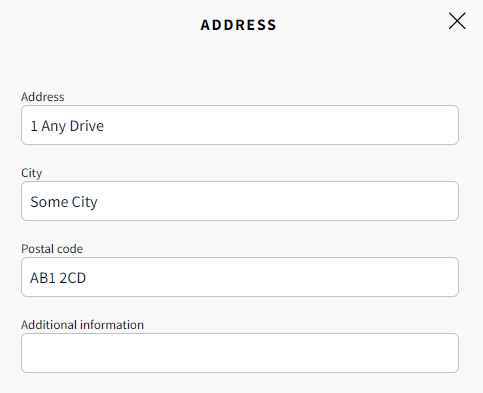
And if you select for delivery, you will be asked to enter a delivery address.
Pressing the Continue button may then ask for some other parameters which vary between payment providers. Once complete you will be taken to the payment screen
When you press continue you will be asked to enter the card details to pay for the order. This screen will vary between providers, and this example is with GlobalPay.

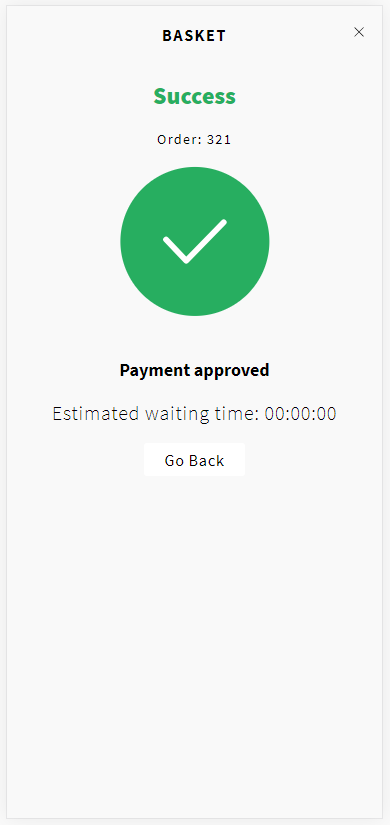
If the payment is successful, then it means that the payment has been made and the transaction has been submitted to Imagine's back-end for onward processing.
It will now..