Creating a New Bundle
The ![]() will take you into a wizard that guides you through the Bundle Creation process.
will take you into a wizard that guides you through the Bundle Creation process.
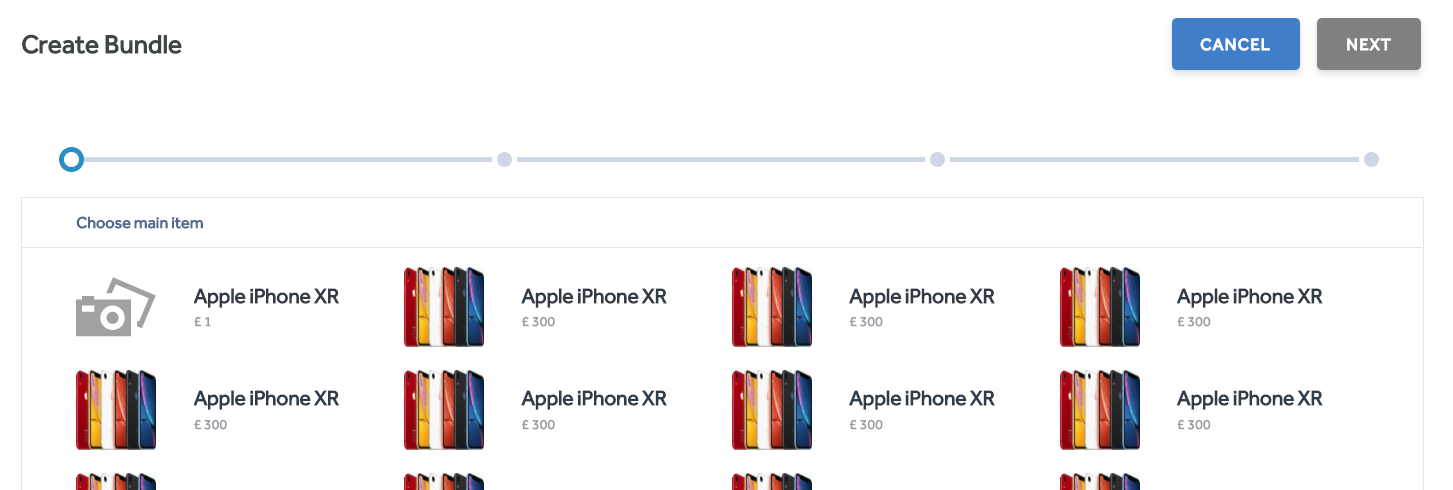
Firstly, choose a main item which must already exist in your Items. This item could be of course also be linked to Modifier Group .
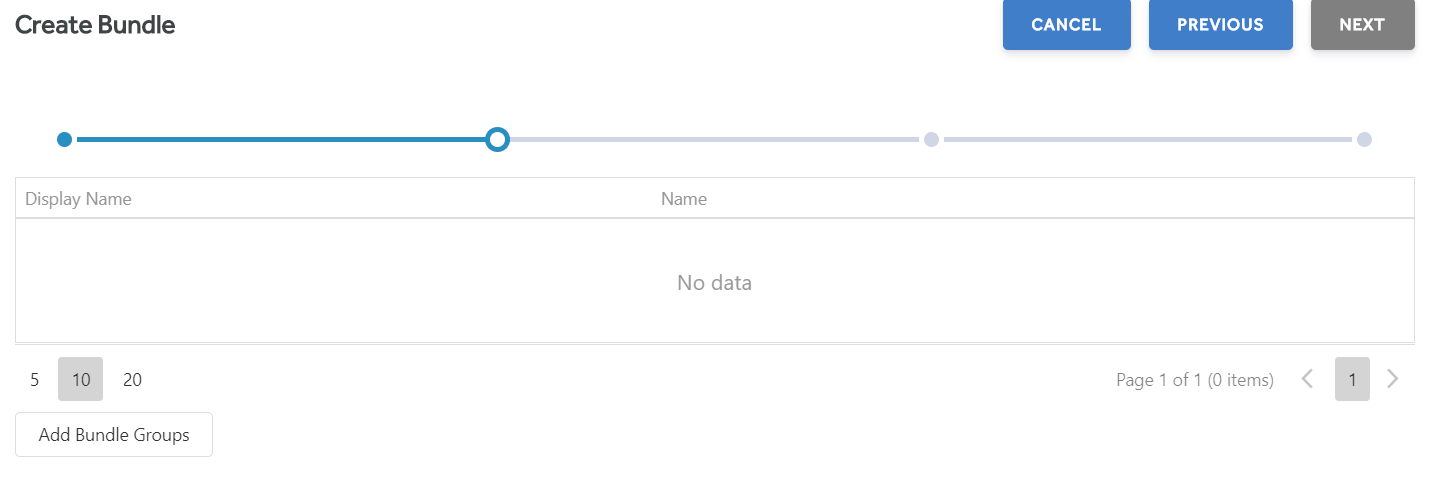
Select the Bundle Groups which you want to offer alongside your Main Item. Click the Add Bundle Groups button.
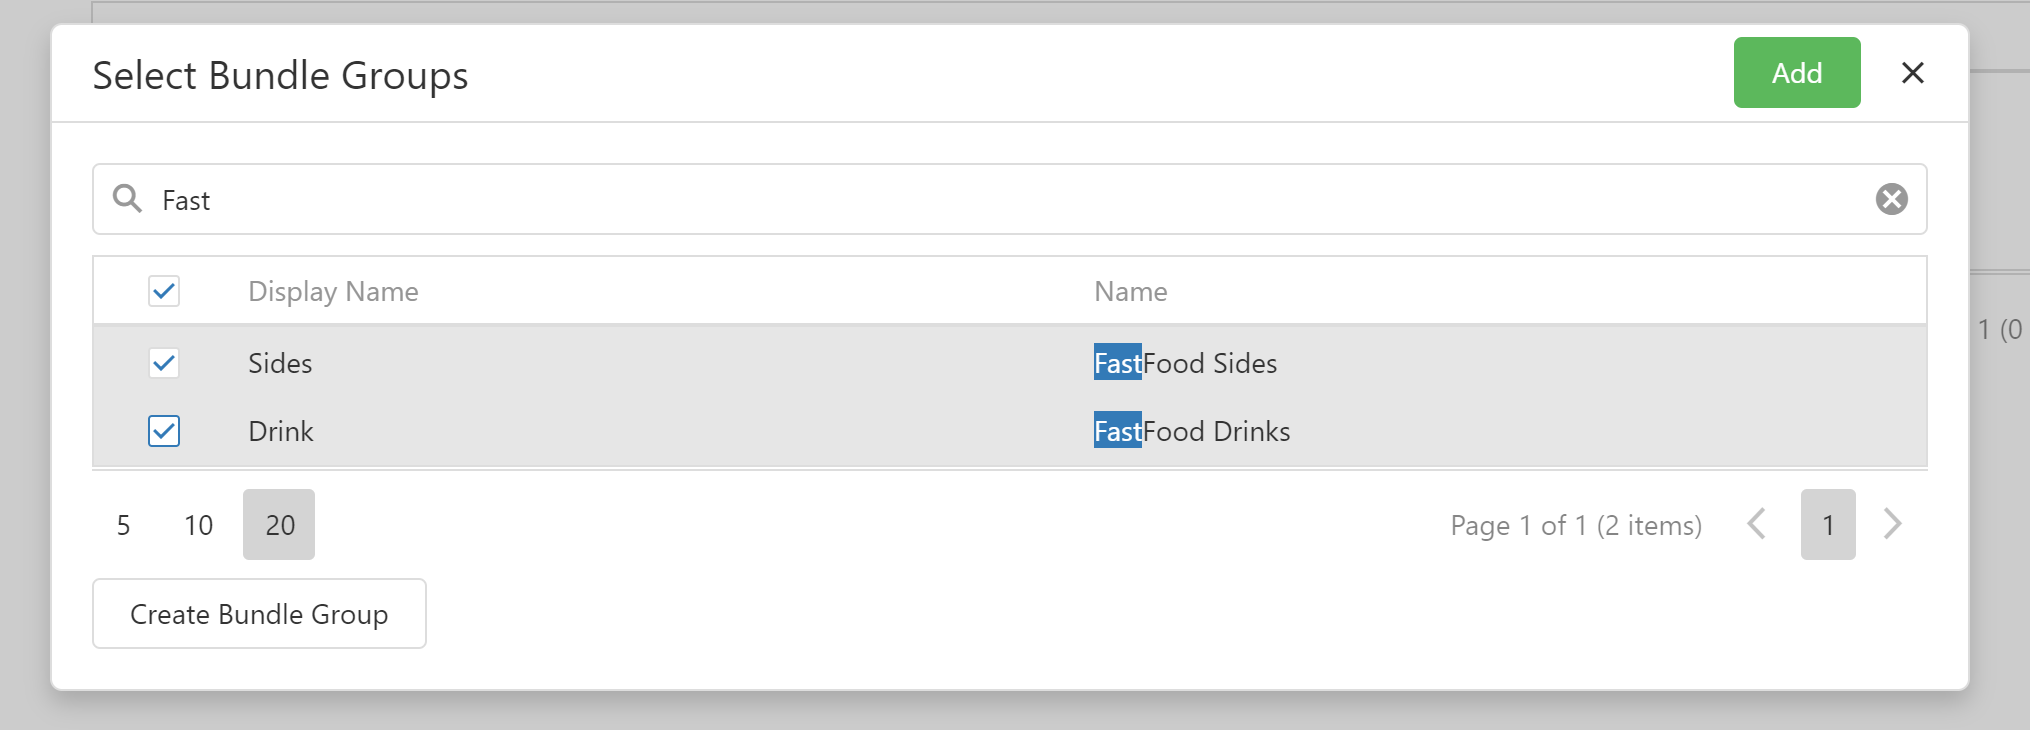
You can either Add Bundle Group or create a new bundle group (for which documentation can be found in the Bundle Groups section).

If you select 'Add Bundle Group' it will show you a searchable list of existing Bundle groups You can select multiple bundle groups using the checkboxes on the left hand side.
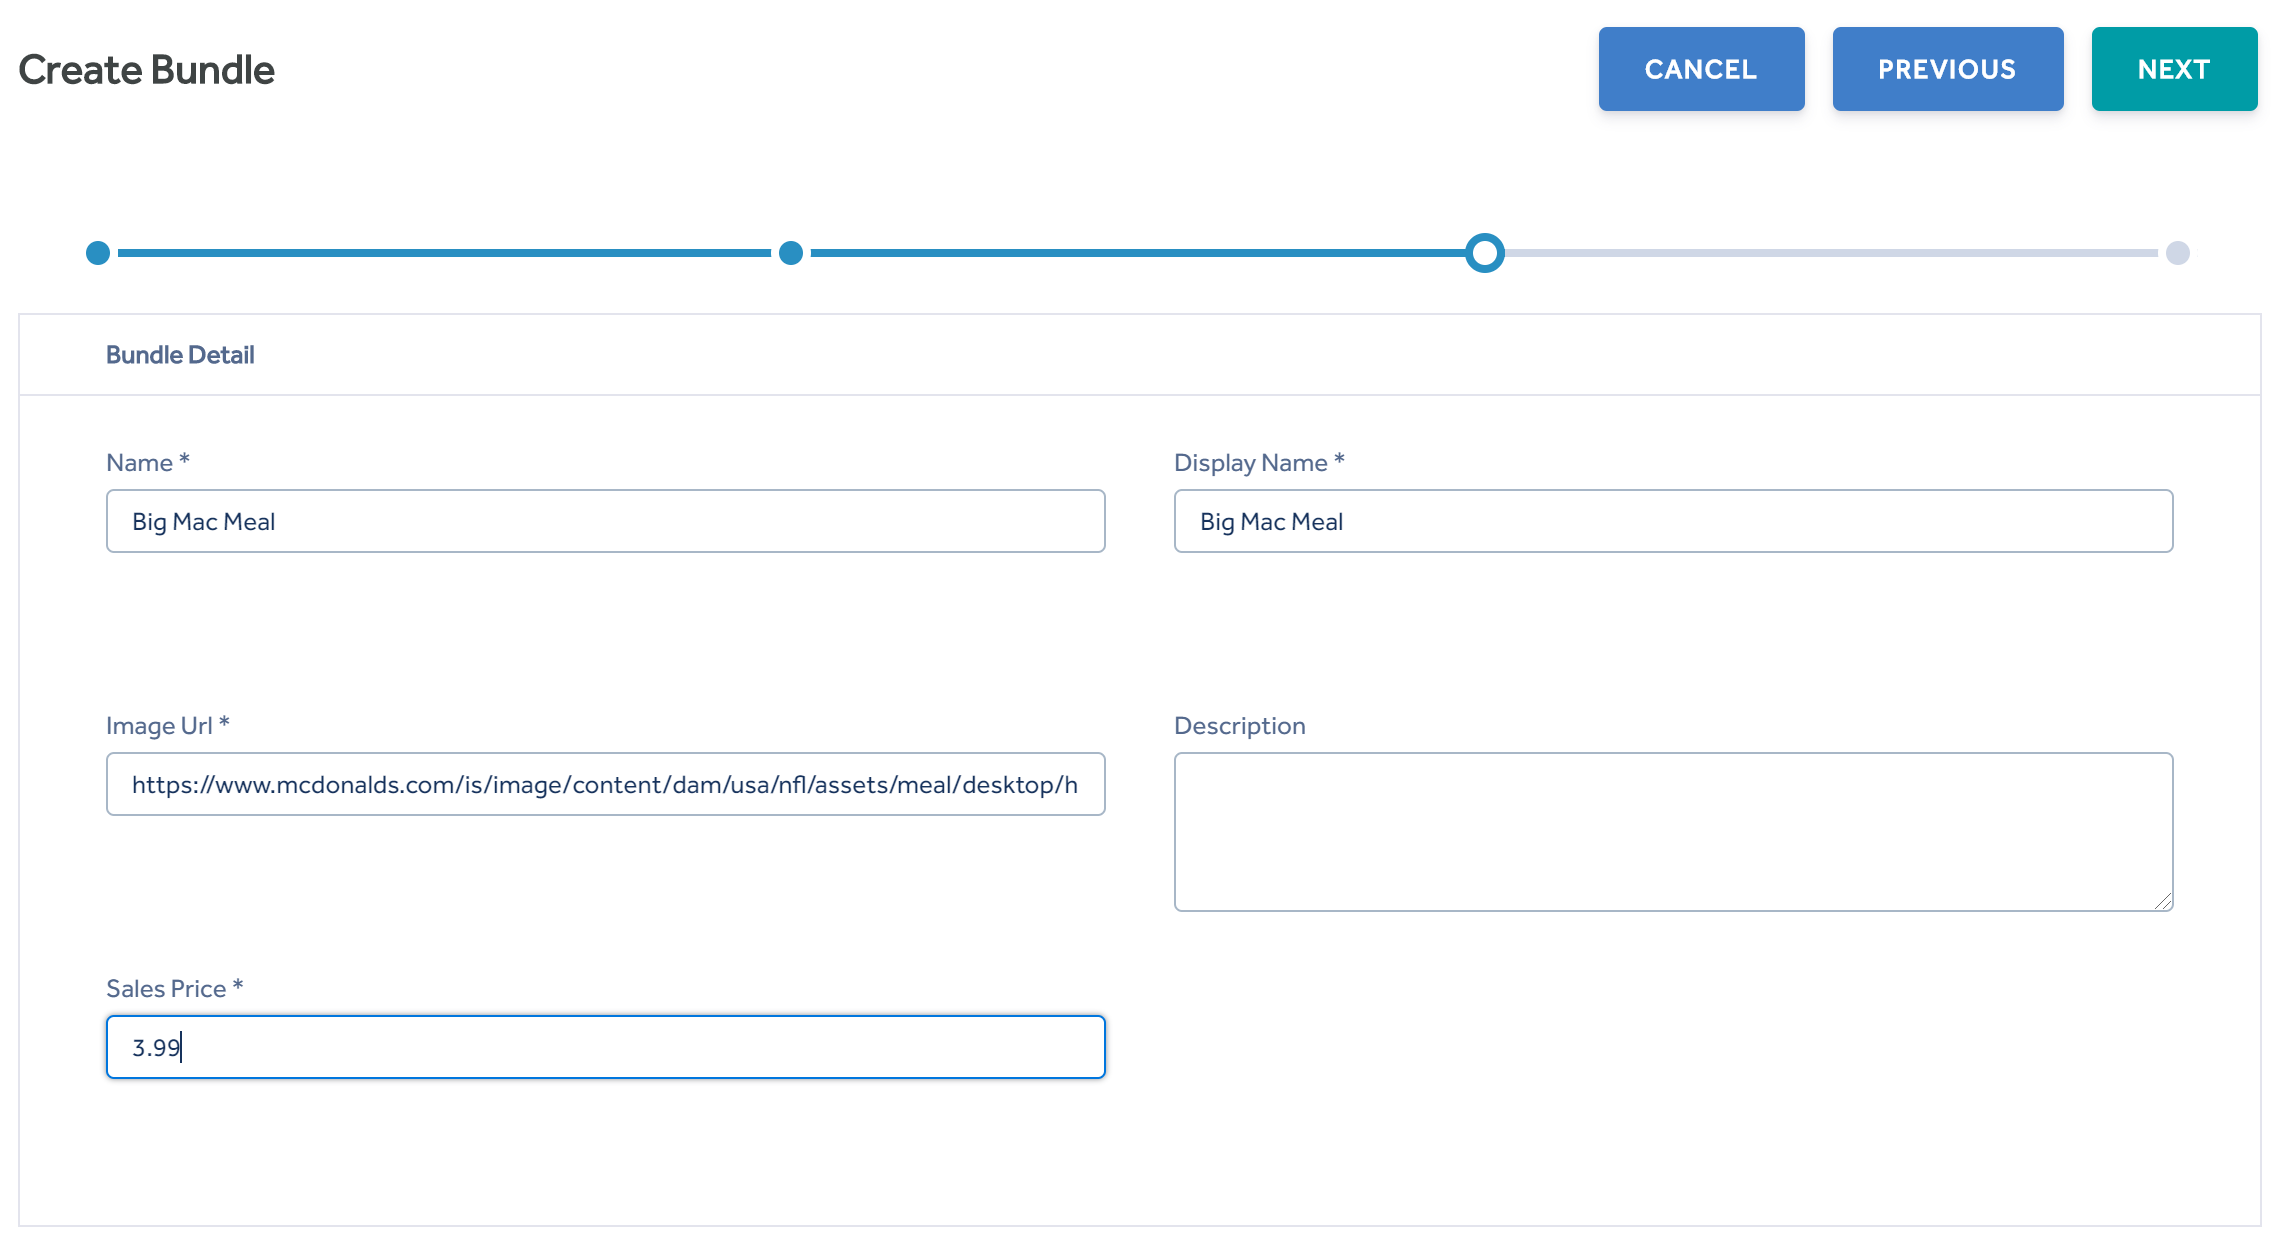
Once you have selected your bundle groups, you are able to customise your bundle.
On this screen you add.
Name - This is the internal name of the Bundle.
Display Name - This is the name of the bundle as it will appear in the details screen of the front end apps, and also as it will appear on the receipt.
Image URL - This is a link to the Image that is displayed in the details view of the bundles in the front end apps. Only .bmp, .gif, .jpg and .svg type images are supported.
Description - The opportunity to prove a longer description extolling the virtues of the product to be purchased. You can also include any dietary or allergen information as appropriate.
Sales Price - The price the bundle will be sold for.
Click next and this shows the summary of the bundle you are creating.

and you have the option at this point to go to the previous screen and change anything or create the bundle.
