Users / Adding New Users
A list of current users will be displayed, each column can be ordered alphabetically, you can also use the search bar using either Username, Email Address, First Name or Last Name.
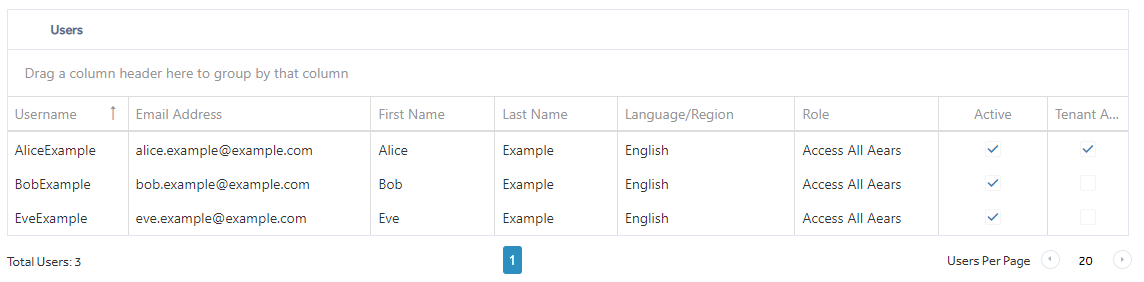
Clicking on a user will allow their roles and access modules to be added or removed as well as the editing of user details.
Add User
This opens a new blank form allowing a new user to be added.
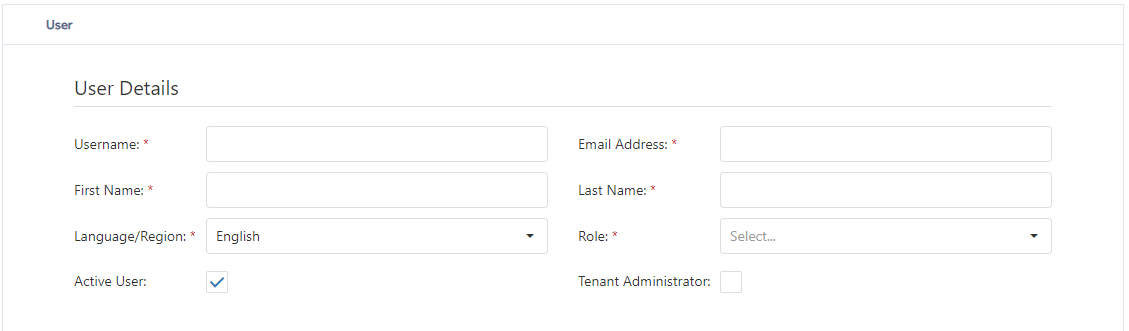
User Details
|
Username |
The name the user will use to access the Imagine portal. This could be different to a users POS log on details. |
|
Email Address |
Used to send password reset notifications to. |
|
First Name |
Complete as required. |
|
Last Name |
Complete as required. |
|
Language/Region |
Used to set the language in Imagine. |
|
Role |
See Roles for role creation, assign a role to a user here. NOTE: Role is a mandatory field, you should set up at least one Role before making a new user. Any existing users not assigned a role will require this field to be updated on any change of detail. |
|
Active User |
Check the box to make the user active, uncheck to make inactive. An inactive user will not be able to access the Imagine portal. This option is not available to the currently logged in user. |
|
Tenant Administrator |
Check the box to give the user Tenant Admin Permissions, uncheck to disable the permissions. A user who is not a Tenant Administrator will not be able to access the Portal module. This option is not available to the currently logged in user. |
|
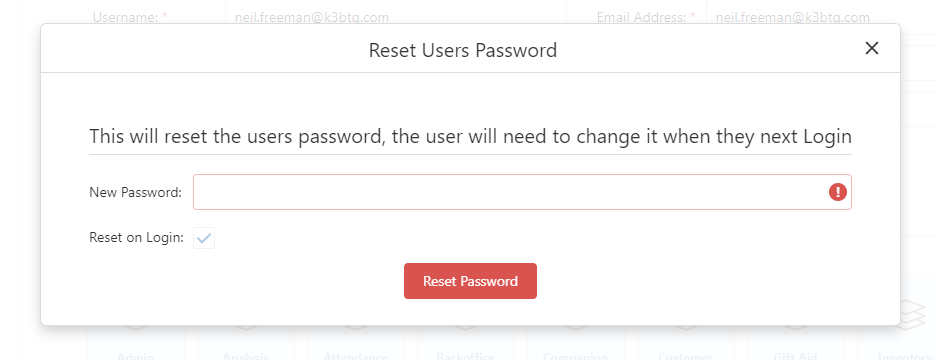
Reset Password |
This allows a new temporary password to be assigned to a user. They will be expected to choose a new private password at first login. |
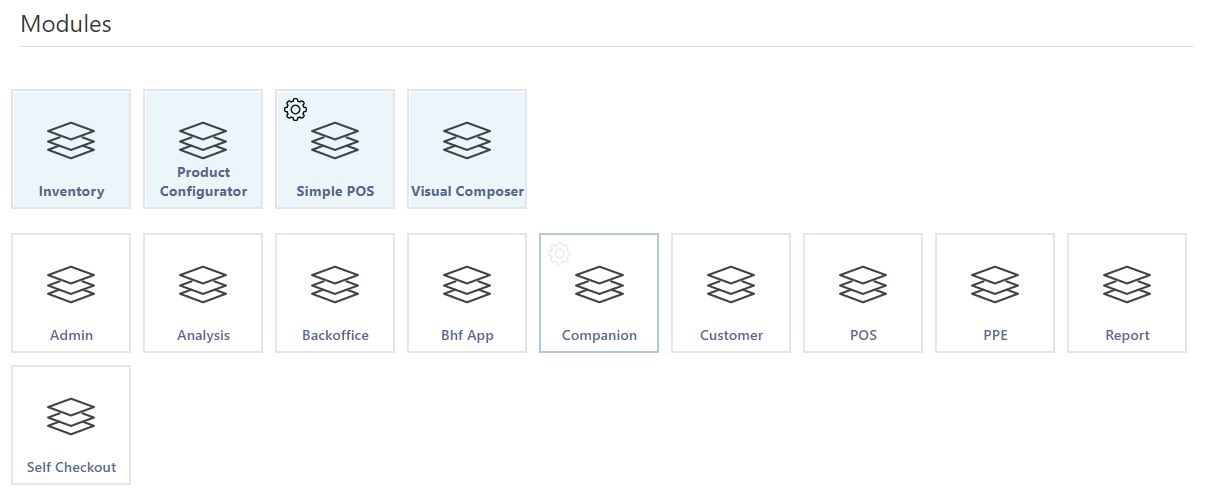
Assigning Modules
NOTE: The currently logged in user is not allowed to add or remove their own modules.
Click a module tile to add or remove the module from the user. Assigned modules show highlighted in blue. For any module shown with a 'cog' icon the user should be assigned allowed shops. Click the cog icon and then choose the shop(s) this user should be able to access.