Functionality
The TOP is designed to be a consumer friendly user facing application, therefore detailed documentation should not be required. However this page will walk you through the user journey on the TOP and explain where it pulls things from other applications, and why.
Accessing TOP
TOP is designed to be accessed by the consumers themselves through scanning a QR code or tapping on an NFC tab which encodes a URL which redirects them to the TOP application. This URL is unique and embeds all the identifiable information it needs to know in order to run. Tenant, Location and Table number.
See Self-Serve Admin Shops section for more details on the URL and QR code generation.
Unless you have a supported Payment Provider setup, you will not be able to use TOP. For more details on how to set this up, see here.
Home View
When a user has scanned a QR code/visited the URL they will land on the Home View. The Home View is how customers select the merchandise they want to order through the TOP. The TOP will always display the Landing Group for the selected store as the start point for this navigation. This hierarchy and navigation can be further expanded upon and fully customised using the Composer Groups functionality in Visual Composer.
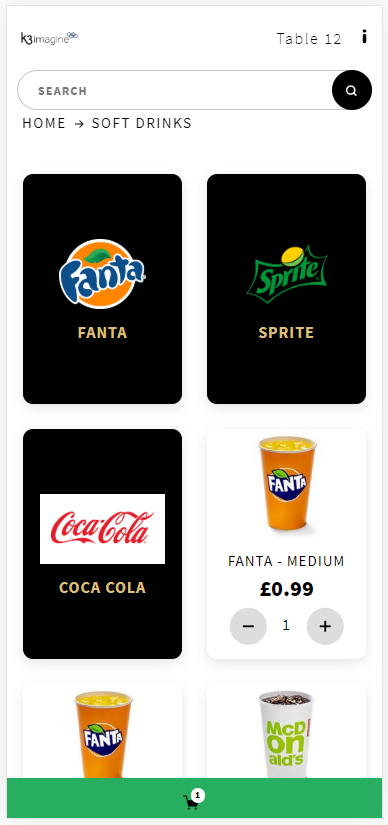
You can choose to drill into the sub groups (black tiles) to see another layer of the hierarchy, or you can use the +/- buttons to add your items to the basket. If you press the + on an item which is a Bundle or has Modifiers, you will be asked to make your selections before adding to the basket.
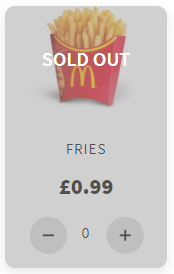
TOP is aware of your current stock levels. So if your item is a stock keeping item and you run out of stock, it will display a tile as Sold Out so customers cannot purchase it.
You can also use the Search to find an item to add to your basket.
Within this view, there is lots of functionality that a user can make use of.
Breadcrumbs - The Breadcrumbs bar provides a quick way of navigating back through the menu structure to find the items you want to order quickly, as well as a handy Back button.

i Button and Table Number - This button will show the user your Terms and Conditions, FAQ, Delivery Information and Privacy Policy, if you have them configured. Currently, only Consultants are able to add this content but user functionality for this is coming very soon.
It also displays the Table number which it extracts from the scanned URL.
Product Information - Any tile with the i symbol means there is some more information you might want to see for an item. It also indicates that there may be Bundle Groups or Modifiers for the item when selected.

Basket Button - The basket button shows you how many items you have in your basket. You can press the button to view the basket, which you have to do in order to proceed to Payment.

Items, Bundles and Modifiers
If you try and add a Bundle or Modifiable item to your basket, you will be prompted to make the relevant selections before adding them to the basket.
This offers you your selections and it asks you to make one selection from each group. Bundles can have an unlimited number of Bundle Groups linked to them. You will not be able to add the bundle to your basket until you have made the selections it needs.
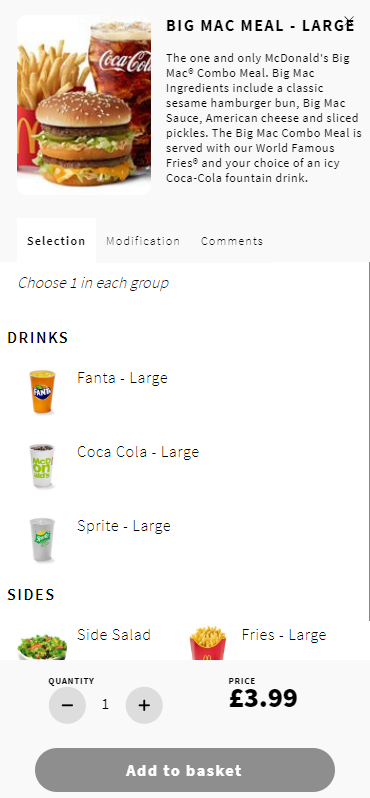
If your bundle main item has Modifiers linked to it, it will automatically jump you to the Modifiers tab in case you wish to make an alteration. Non-bundle items with Modifiers will only show you the Modifiers. You can clearly see the "rules" for the modifiers around minimum and maximum selections, as well as any additional prices that might be incurred through that modification. You can optionally include pictures for your modifiers for a nicer look and feel.
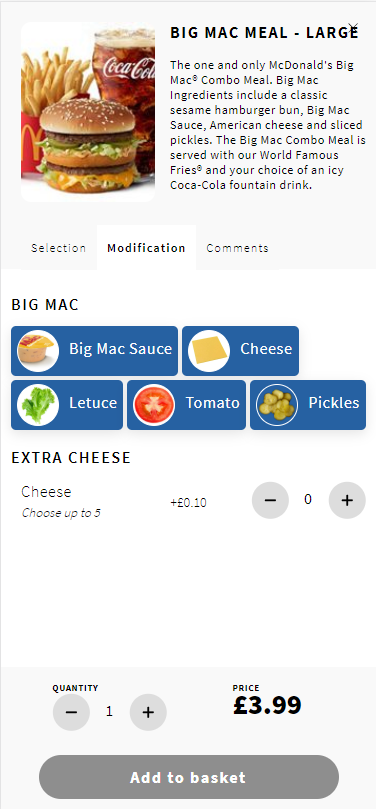
You can also add manually entered comments against the line too.
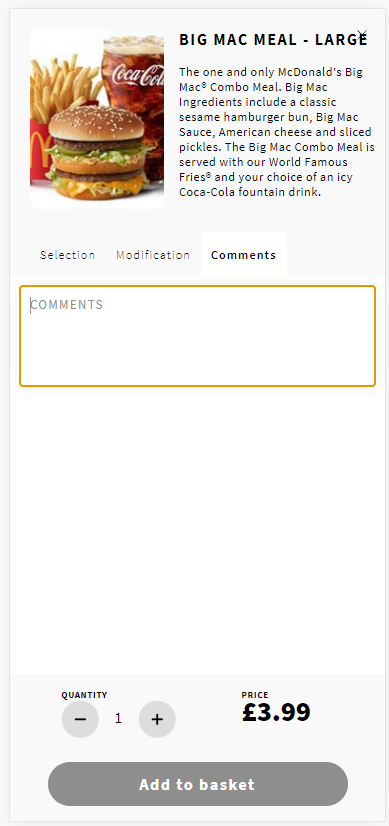
Modifications and Comments that you apply make their way through to the Order Status Display to be used in the order preparation area.
Basket
The Basket screen is a listing of all of your items, along with any bundle selections and modifiers you have made. They are grouped together, so if you have made more than one item with the same selections and modifiers they will be on the same basket line. It clearly denotes the extended price of the basket line and also displays the quantity multiplied by the single item price.
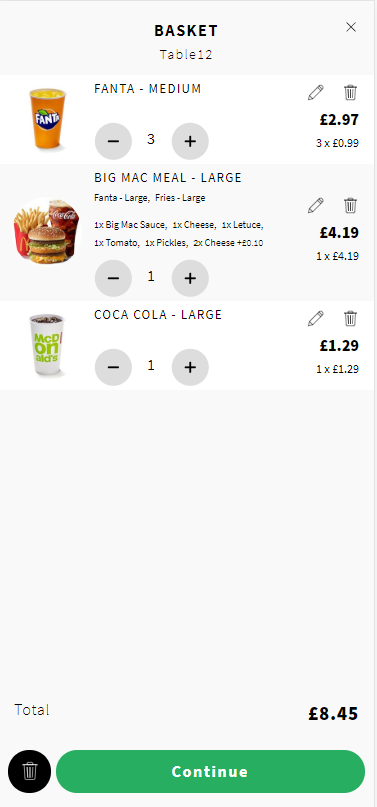
Edit Line - You can use the pencil icon for the basket line to make alterations to that line (change modifiers or bundle selections)

Delete Line -Use the trashcan icon to remove the line from the basket

Delete Basket - Use the black trashcan next to the Pay button to clear the basket and return to the start screen

Continue - Use the pay button to proceed to the payment phase.

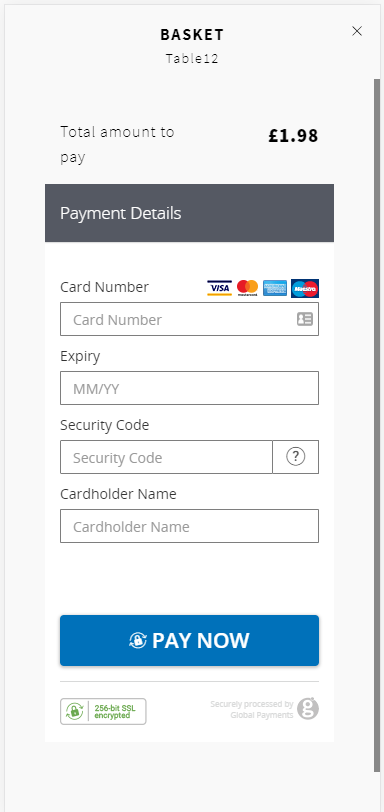
Payment
Pressing the Continue button will then ask you for your email address and optionally some other parameters which vary between payment providers and partner extensions.
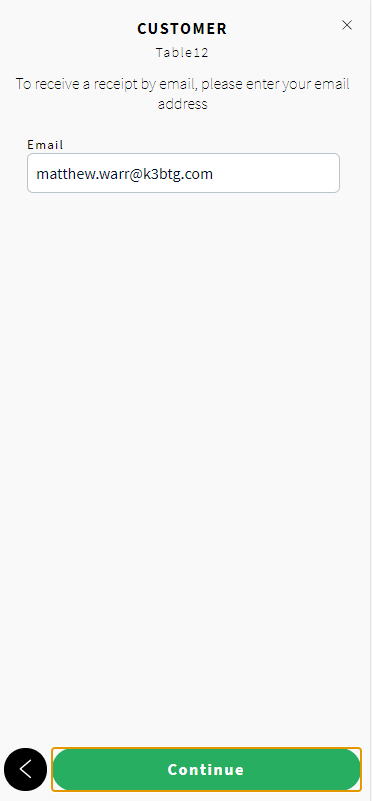
If the payment is successful, then it means that the payment has been made and the transaction has been submitted to Imagine's backend for onward processing.
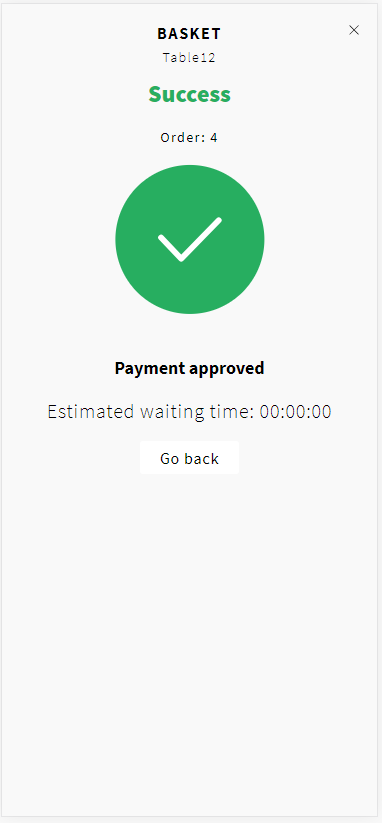
It will now
- Submit the order to the Order Status Display
- Return you an order number which is displayed on screen and used in the OSD and ORB
- Email an order confirmation and receipt including the order number and any bundle selections and modifiers which are applied
- Show you the estimated waiting time, which it calculates based upon the last 15 minutes order throughput