Creating a new promotion
To create a new Promotion click 
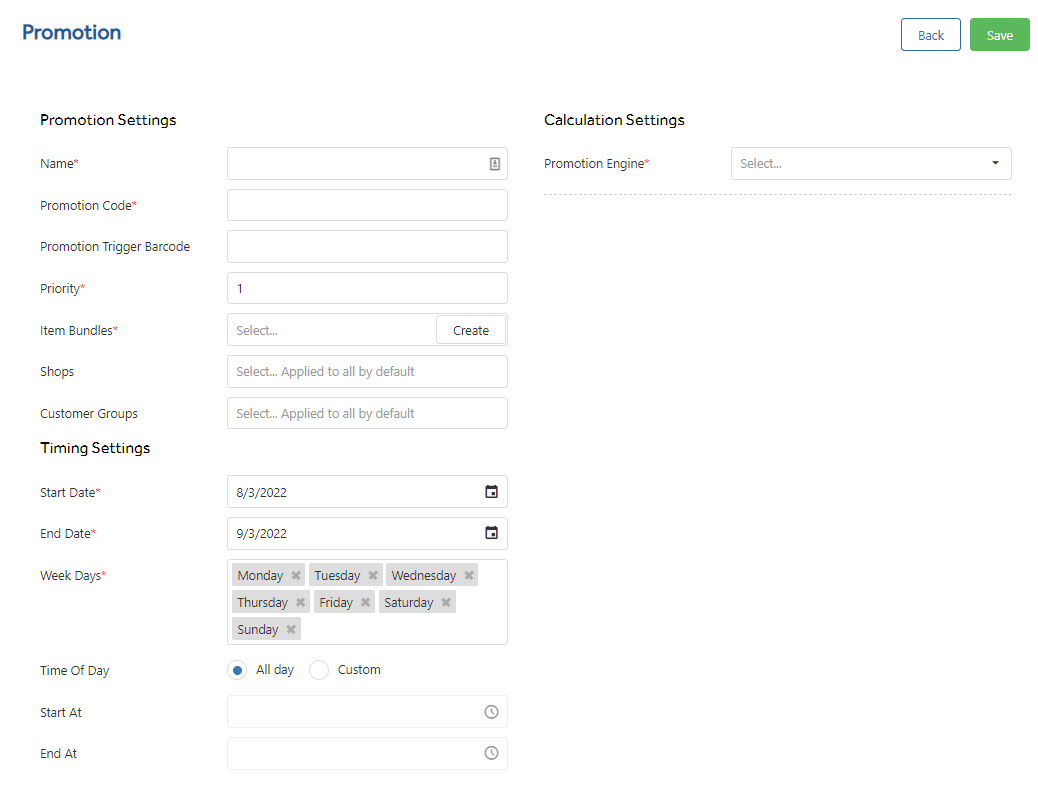
A page will appear, complete this with the relevant information.
Promotion Settings
Name - The name for this promotion. This will appear on the receipt for your customers.
Promotion Code - An internal code you can use to assist with promotions in reports.
Promotion Trigger Barcode - This is an option to create a barcode to scan at the POS to activate a specific Promotion. Within Global Settings you can set a prefix.
Priority - Priority of which promotion is given to a product. If you chose a priority already in use then other promotions will be pushed down the priority list in preference to this promotion.
Item Bundles - the filter of products that go into the promotion. See Item Bundles for more details.
Shops - Select which Shop(s) the promotion applies to. By default all shops are included.
Customer Groups - Select which Customer Groups the promotion applies to. By default all customer groups are included.
Timing Settings
Start Date - The date the promotion is active from. This date is inclusive.
End Date - The date the promotion is made inactive. The end date is included as part of the date range.
Week Days - Select specific days of the week the promotion is active on.
Time Of Day - All Day - The promotion applies all day / Custom - Select a Start At and End At time for the promotion. You can select from the drop down or enter in your own time as HH:mm
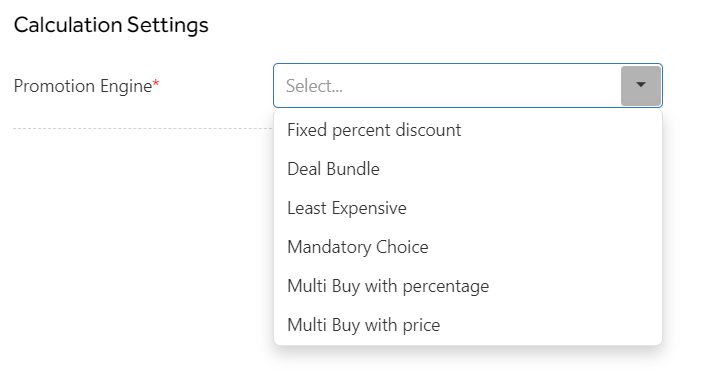
Calculation Settings
Promotion Engine - The promotion type that is to be given to this promotion. Adding a rule under Calculation Settings allows you to choose a type of discount/promotion with the Promotion Engine. Each promotion type has its own settings see Promotion Engine Settings for more information.